The Sandpit & Live Environment
Access
Ahead of logging into the environments, your login details will be provided to you via email. The email will contain a link to either the Sandpit or Live environment. Click onto the relevant link.
- Sandpit Environment (for testing and staff practice purposes)
https://sandpit.inhealthcare.co.uk/portal/
- Live Environment
https://portal.inhealthcare.thirdparty.nhs.uk/portal/
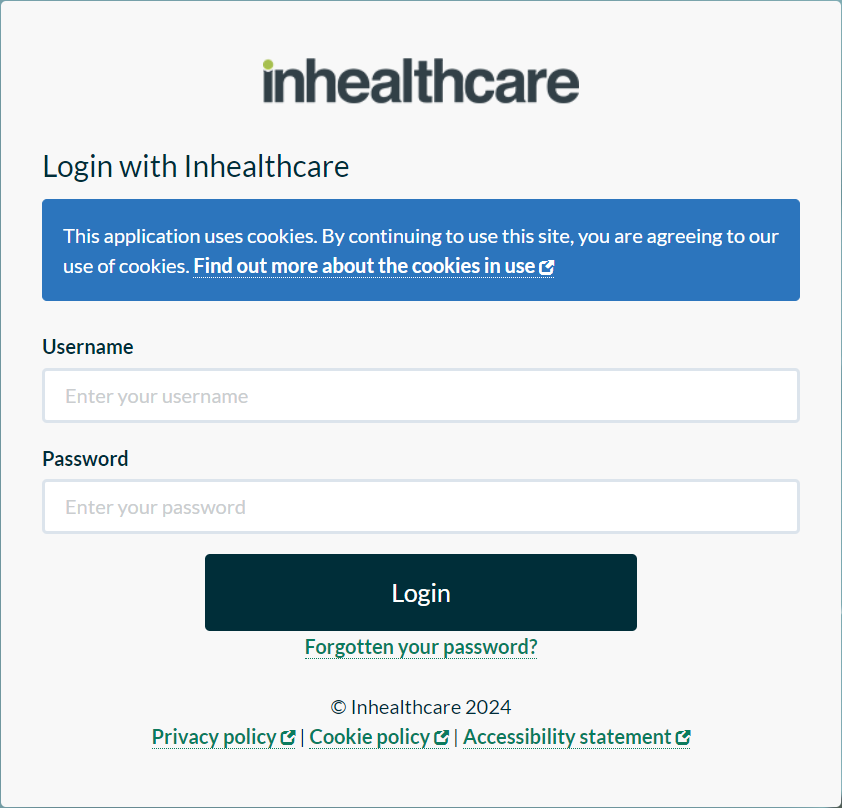
Logging in
Enter your Username and Password.
Click Login.
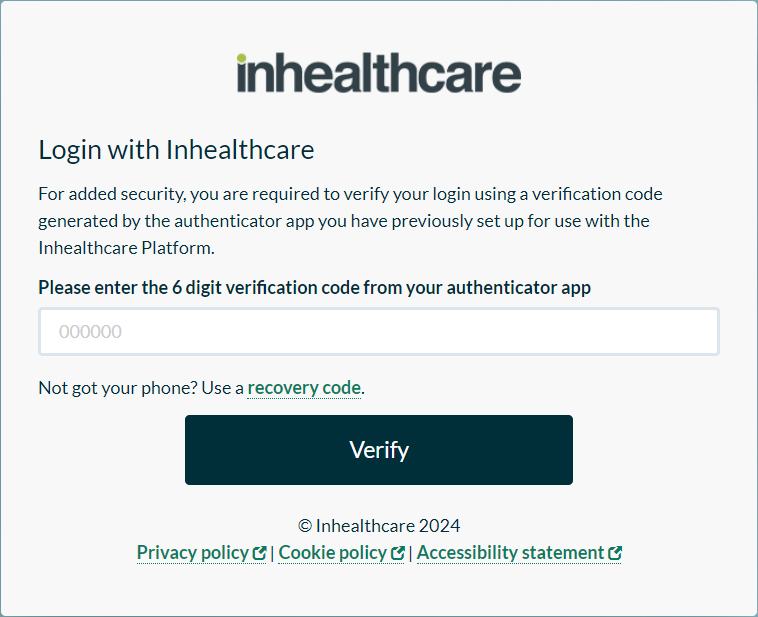
Multi Factor Authentication
Logging into the Inhealthcare platform will require the use of an MFA authenticator app. A separate guide is available to help get started with MFA.
Enter the 6 digit verification code from your authenticator app.
TIP
If anything other than digits are entered into the code field, a warning will display and prompt you to enter a correct code.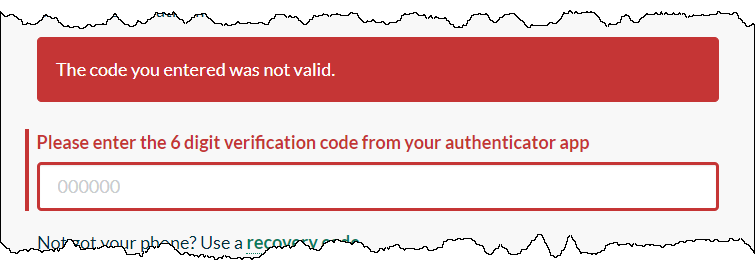
If an incorrect 6 digit code is entered, you will be returned to the login screen to enter your username and password again.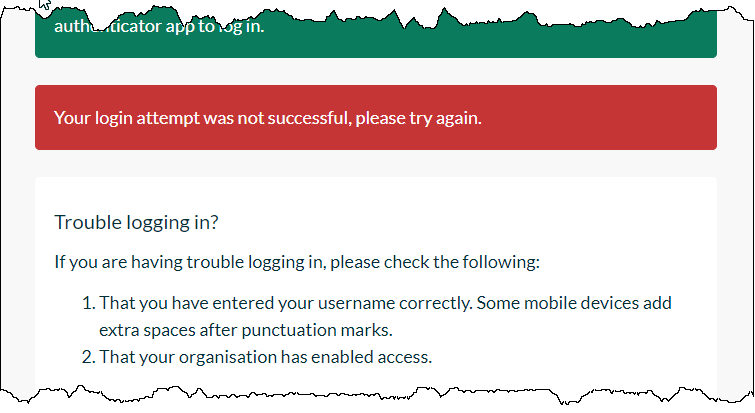
Forgotten Password
If needing to reset your own password:
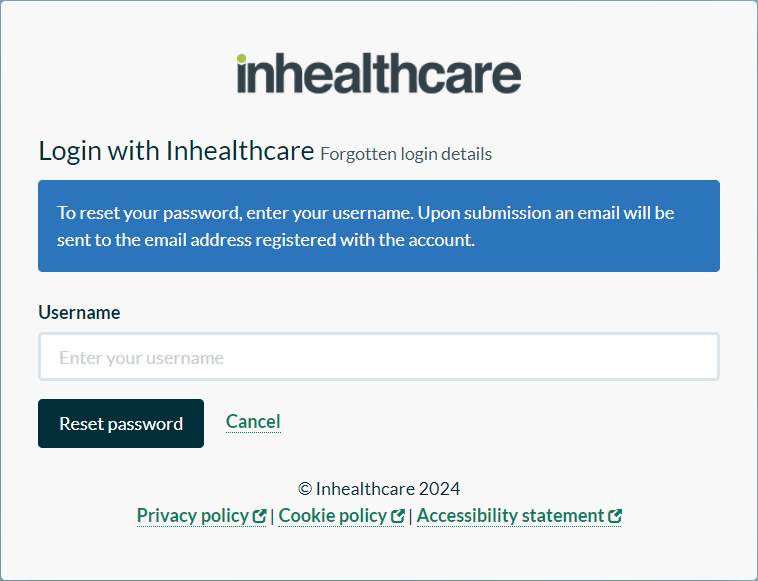
Click the Forgotten your password? link.
Enter your Username.
Forgotten Username?
If you have forgotten your Username, please refer to your line manager, who will assist you.
Click Reset password.
The login screen will load and an email including a reset password link will be sent to the email address held for the username entered.Use the link included in the email to enter a New password and Confirm new password. Your username will remain the same.
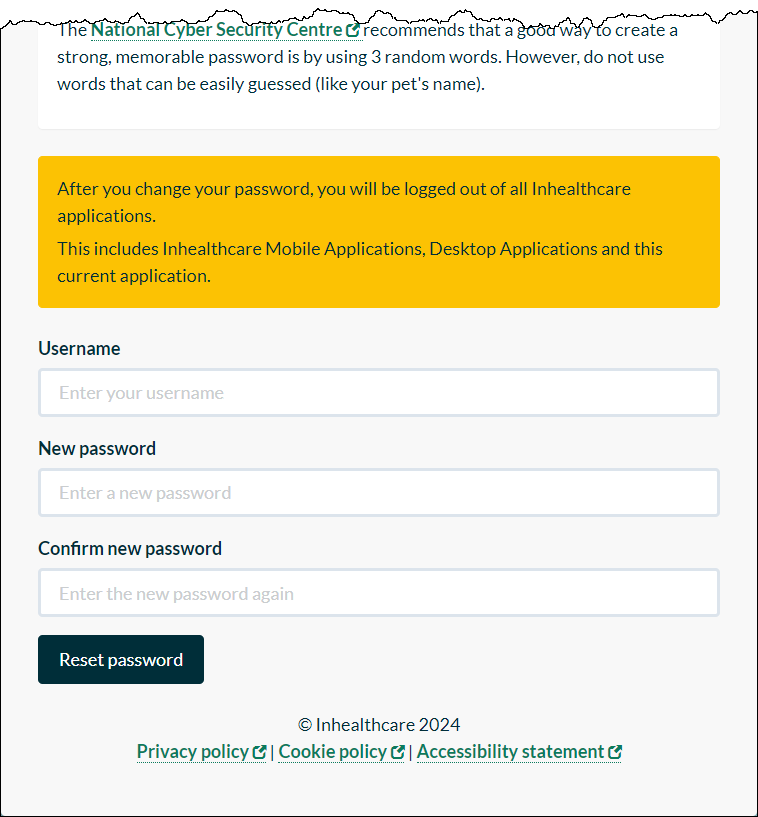
Click Reset password.
You will be returned to the login screen and a confirmation will be shown.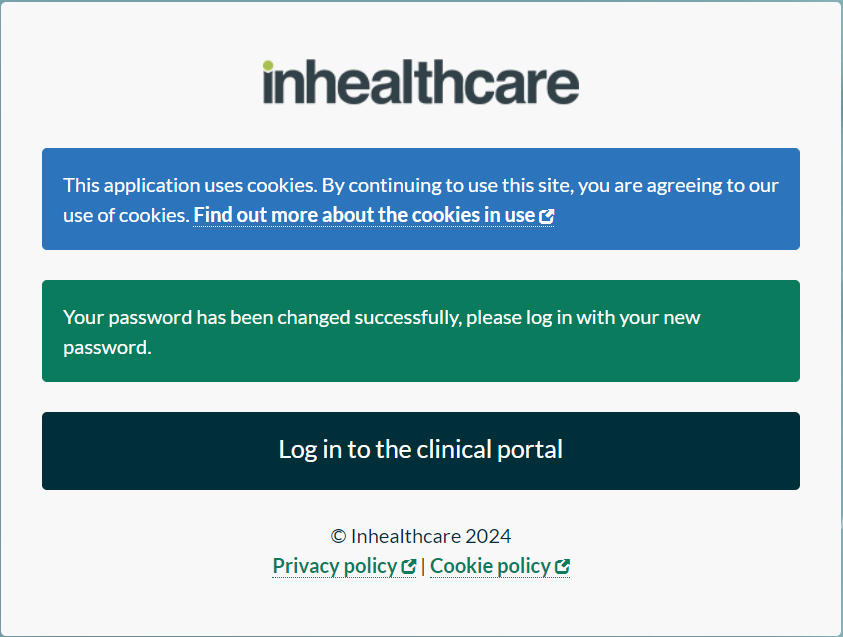
WARNING
Any active Inhealthcare sessions which had been using that login will end. To continue using other Inhealthcare applications you must log in with the new password and re-authenticate as necessary.
Password Reset
To reset a password on behalf of a colleague:
WARNING
You will need administrative permissions to be able to reset passwords for other users within your organisation.
Navigate to Organisation administration.
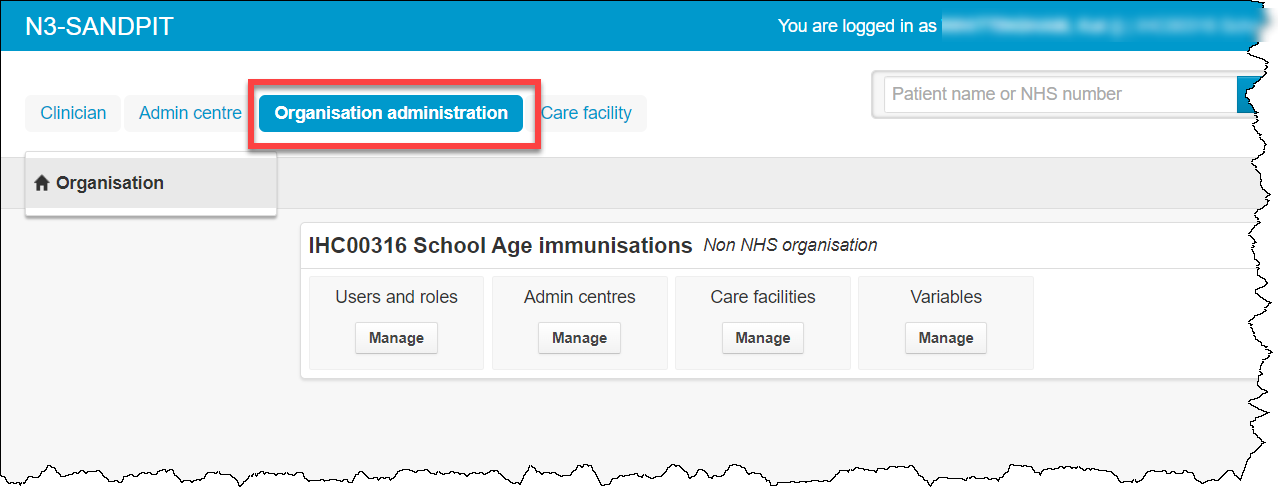
Click Manage, underneath Users and roles.
On the Manage users screen, use the Quick filter field to search for the applicable user.
Click Manage user.
On the Manage user Summary screen, click the blue Reset password link.
A confirmation screen will display.
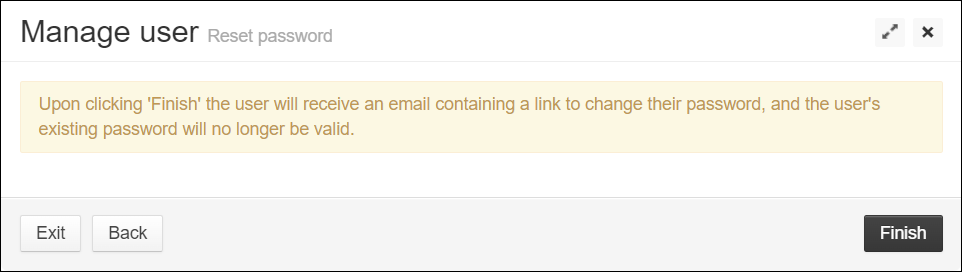
Click Finish This will send an email including a reset password link to the email address held for this user.
TIP
Once a reset password link has been sent, the user's old password will no longer work. To regain access to their login, the reset password link must be used.
Patient Password Reset
To reset a password on behalf of a patient for their online services:
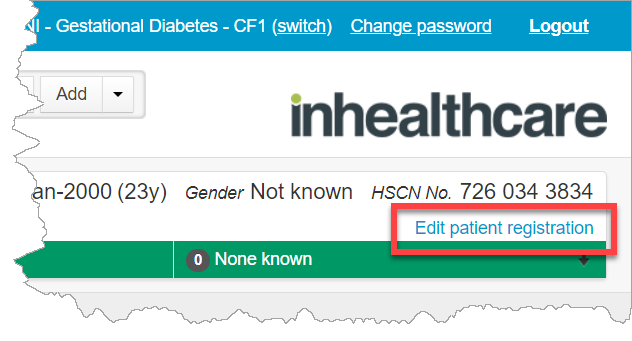
Navigate to the patient's record.
Click Edit patient registration.
Click Re-register patient.
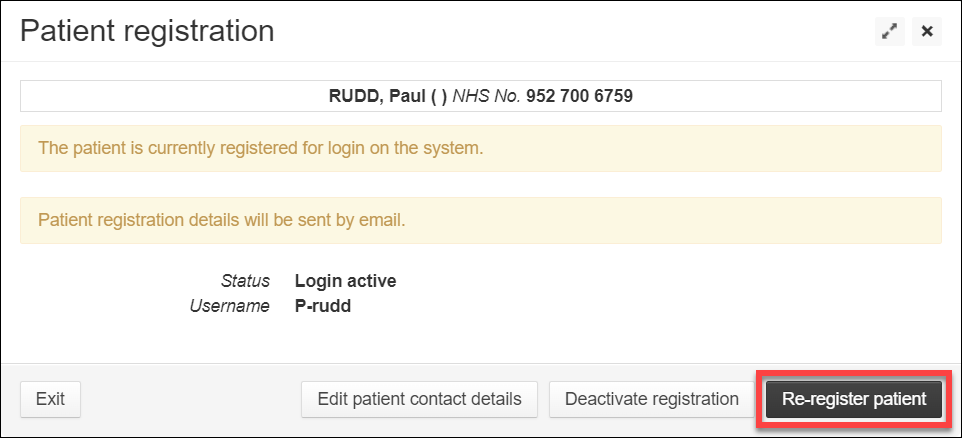
WARNING
If the patient is not already registered, this button will not show.
This will prompt an email to the patient to reset their password.
TIP
If the patient is registered for online services, for the patient app, they will be required to also change their 6-digit pin code.
Navigating the Portal
- Sandpit: The N3-SANDPIT text indicates that you are logged into the Sandpit environment.

- Live: If there is no white text showing, you are logged into the Live environment.
User Roles & Permissions
The pathway(s) you will be using on the Inhealthcare platform may require different user roles for you to access certain functionality.
Roles & Permissions Explained
| Action | Clinician | Patient Administrator | Care Worker | Admin Centre User |
|---|---|---|---|---|
| Create patient records | ✔️ | |||
| Edit patient information | ✔️ | ✔️ | ||
| View patient records | ✔️ | ✔️ | ✔️ | |
| Add patient notes | ✔️ | |||
| View patient readings | ✔️ | ✔️ * | ||
| Add patient readings | ✔️ | ✔️ | ||
| Upload patient readings (to your GP system through the IHDA) | ✔️ | |||
| Activate services | ✔️ | |||
| Edit services | ✔️ | |||
| Deactivate services | ✔️ | |||
| Deactivate patients | ✔️ | |||
| View alerts | ✔️ | ✔️ | ✔️ | |
| Assign alerts | ✔️ * | ✔️ | ||
| Process alerts | ✔️ | ✔️ |
* These permissions can be enabled/disabled by an Organisation administrator.
In addition to the above, the following roles might be made available to you:
Asset developer – users with this role can create basic assets in the IHC toolkit.
Reporting – users have the ability to run and schedule reports via the IHC Customer Dashboard
Organisation administrator - users are able to:
Manage permissions within their organisation.
Add, amend, or delete admin centres within their organisation.
Add, amend, or delete care facilities within their organisation.
Add, amend, or delete users within their organisation.
If you cannot access the functionality you need to on your pathway, please check your user permissions with your organisation administrator.
Menu & Navigation
Logged in User, Password Reset & Logout

This will display who you are logged in as, the organisation, and the care facility (if applicable) that you are logged into.
Options to change your password or logout are also shown.
Switch Organisation
If you are setup with more than one organisation and care facility, the switch button can be used to take you to a screen where you can select the appropriate organisation/care facility for your pathway.
Search Bar
The search bar at the top of the centre of the screen, can be used to search for patients in any of the organisations that you belong to.

Enter the patient's NHS (HCN or CHI) number, full name, or family name.
TIP
The patients full name can be abbreviated for a quick search, for example, ‘Ja ab’ for ‘James Abel’
Press enter or click the blue spyglass icon.
This will return all patients matching your entered search criteria.Select View patient on the applicable patient.
TIP
If no match is found, the Patient search screen will open. This option can also be accessed using the down arrow next to the blue spyglass and selecting Advanced Search. This is explained in detail below.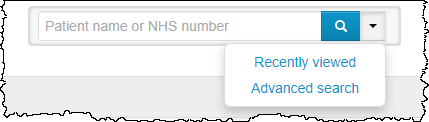
Advanced Search
TIP
The below options will not display, unless your Service is configured to search via the Personal Demographics Service (PDS) or SCI.
Inhealthcare
- The Inhealthcare search source, searches for a patient in the Inhealthcare Platform.
PDS with NHS Number
- The PDS with NHS (CHI or HCN) number search source attempts to find a patient in the Personal Demographics Service (PDS), using an NHS (CHI or HCN) number, date of birth, and optionally a family name and/or given name.
PDS without NHS Number
- The PDS without NHS (CHI or HCN) number search source attempts to find a patient the Patient Demographics Service (PDS), using a family name, date of birth, and gender, and optionally a given name and/or postcode.
Not all fields will display, depending on which Search source has been chosen. Entering as much information as possible will result in a more accurate patient search.
Information Fields Explained
Search source: lookup tool.
Family name: surname of the patient, this field will show for all search sources.
Given name: first name of the patient, this field will show for all search sources.
Date of birth: typed or selected via the icon, this field will show for all search sources.
NHS Number: this will automatically format, this field will show for all search sources.
Include deactivated patient records: only applicable for Inhealthcare searches.
Email address: registered email address, only applicable for Inhealthcare searches.
Phone number: registered phone number, only applicable for Inhealthcare searches.
Search in organisation: only applicable for PDS/SCI without NHS/CHI number searches.
Postcode: only applicable for PDS/SCI without NHS/CHI number searches.
Gender: only applicable for PDS/SCI without NHS/CHI number searches.
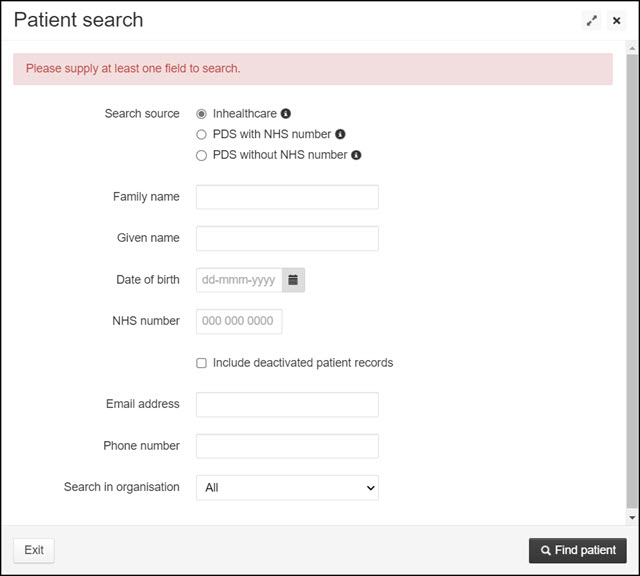
Click Find patient.
If the patient is successfully found, then click Add and view patient or Update and view patient.
You may be required to add any missing information that is required by our platform.
This will open the patient's record.
Adding Patients
If no patient is found, they can be added to the platform. Please view the separate Adding patients to the Inhealthcare platform guide for how to do this.
Recently Viewed Patients
Patients who have been recently viewed, can be easily found by selecting the down arrow next to the blue spyglass and selecting Recently viewed.
The Recent patients screen will open:
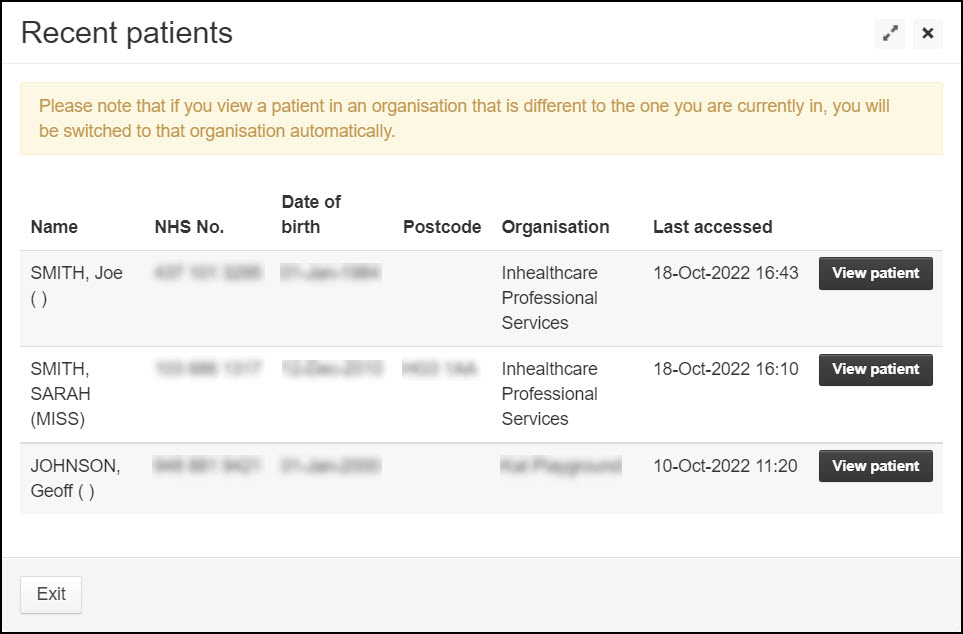
All recent patients will display. Select View patient for the applicable one.
WARNING
If you have access to more than one organisation, patients in each organisation will show.
Selecting a patient will automatically change your logged in organisation to the one where the patient is registered.
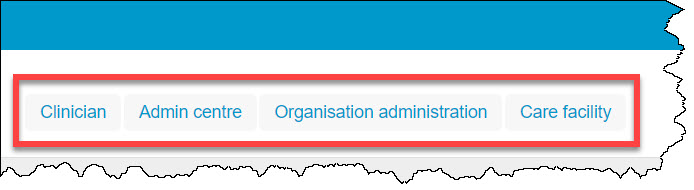
Dashboards
The dashboard tabs visible to you, are dependent on your user roles.
Clinician: To access alerts assigned to you from an admin centre, notes, and results for upload to a GP system..
Admin centre: If your services create alerts to an admin centre, this allows access to those tasks.
Organisation administration: Access to administrative functions such as adding or deleting users.
Care facility: If your services create tasks to a care facility, this allows access to those tasks.
Clinician Dashboard
WARNING
Only users with a Clinician role associated with their account will see this dashboard.
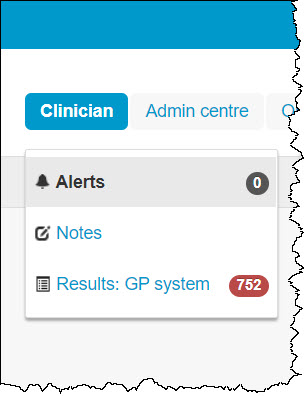
The following meu options will display:
Alerts - Clinical alerts specifically assigned to you from an admin centre.
Notes - All notes for all patients in your current organisation. Clinician and Triage user roles will allow you to add notes to this section.
Results: GP system - Patient results, to be uploaded to a record system, such as EMIS or SystmOne.
WARNING
You can only upload patient results through the Inhealthcare Desktop Application; they cannot be uploaded through the web portal.
Admin Centre Dashboard
WARNING
Only users with an Admin centre user role associated with their account will see this dashboard.
If you belong to an admin centre, you can view alerts relating to it here.
There are two tabs:
Unprocessed alerts: requires action.
Processed alerts: a history of alerts which have been actioned.
How to Add & Assign Admin Centres - User Guide
Organisation Administration Dashboard
WARNING
Only users with an Organisation administrator role associated with their account will see this dashboard.
The Organisation administration dashboard is used to perform administrative functions in the system, such as adding new users and configuring admin centres and care facilities for your organisation.
Care Facility Dashboard
WARNING
Only users with a Care worker role associated with their account will see this dashboard.
The Care facility dashboard allows you to access information and tasks for the care facility you are currently logged into:
Tasks If there are any tasks for your care facility then they can be viewed here.
Further information can be seen by selecting View task. If the task is associated to a patient you can also select View patient to see the patient record. Tasks are organised into two tabs:
- Unprocessed tasks: Require action.
- Processed tasks: A history of tasks which have been actioned.
How to Add & Assign Care Facilities - User Guide
Patients
This will show you a list of all patients that are currently active in the Portal for your care facility.
Patient Record
Once you have selected to view a patient, you will be taken to their Patient Record.
Patient Details

The patient's full details will appear at the top of the patient record. This will include their date of birth, NHS (or HCN, or CHI) number, gender, full name, address, and contact details.
The different sections available on the patient record (found in the left-hand menu) are detailed below.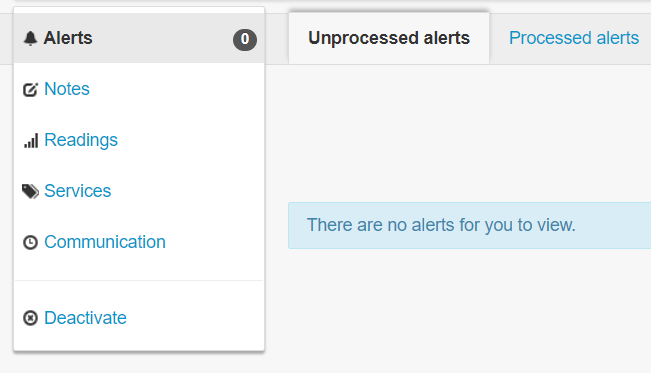
Alerts section
If shown, this will display any alerts for the patient, which have been assigned to the currently logged in clinician, from the admin centre.
Filtering alerts
The Alerts section will display filter options in the top right of the screen. These allow you to filter and sort information shown, e.g. sorting from newest to oldest.
Dependant on the screen, a new customised filter can also be added to filter results.

Notes section
This allows for the audit of activity on the patients record, such as when the patient was enrolled onto a pathway or when they have been deactivated.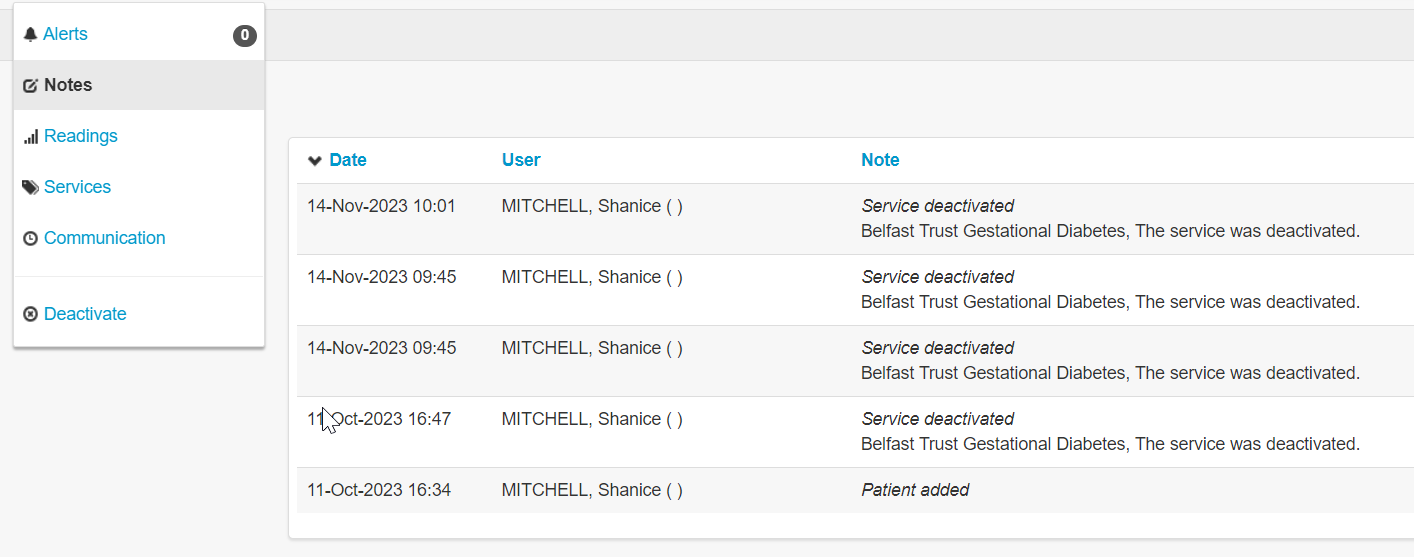
Readings section
This displays all readings inputted and data generated for the patient.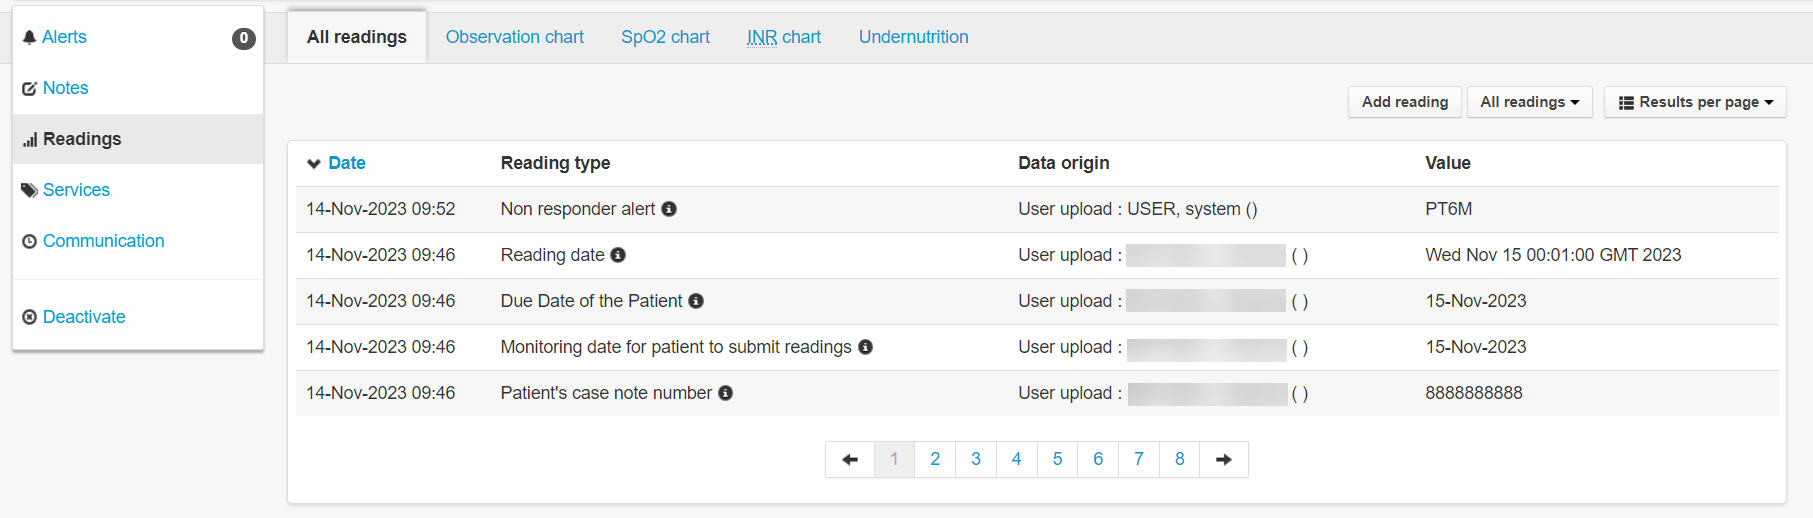
TIP
The All readings dropdown can be used to filter the results shown to a specific type of information, e.g. Blood pressure.
Services section
This displays the available and running services (also referred to as pathways) for the patient.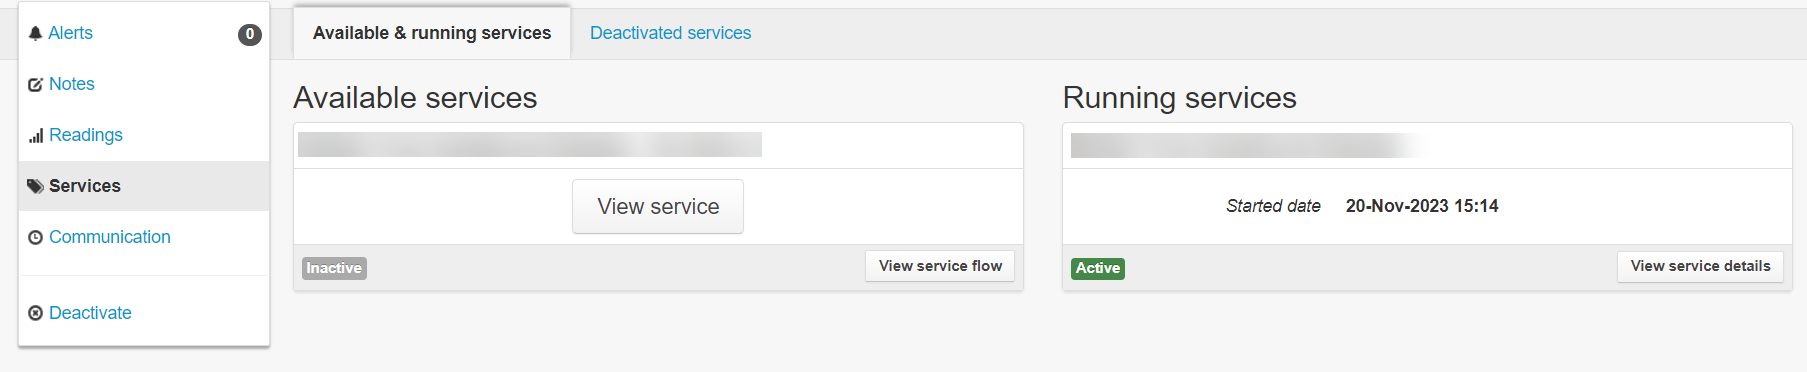
Communication section
This displays the communication audit from and to the patient, such as registration email or reminders.
All communications to the patient, along with their delivery status, can be viewed here.
Deactivate section
If shown, this provides the ability to deactivate the patient's record from Inhealthcare.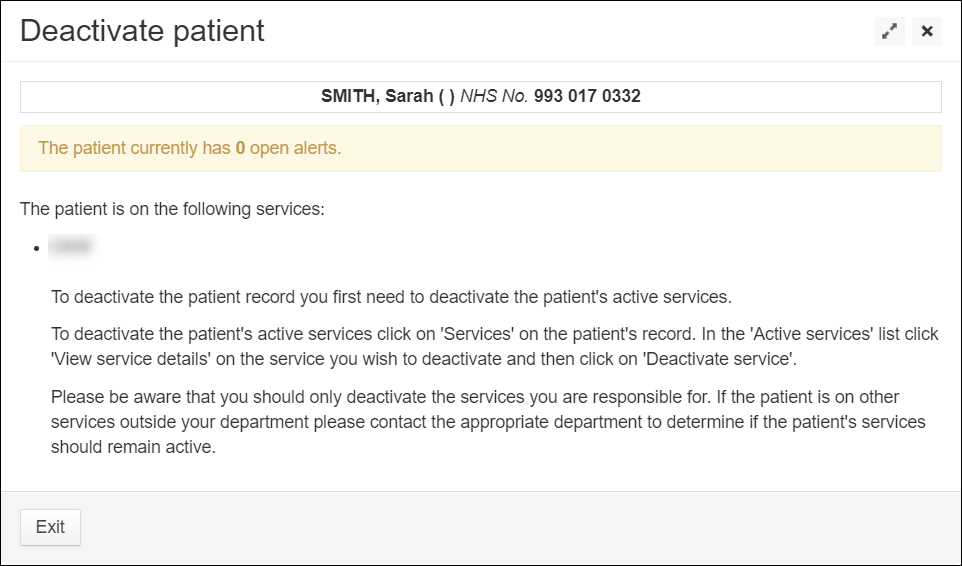
Registration & Enrolment
This section covers online registration for the patient portal as well as enrolment onto a pathway within the Portal.
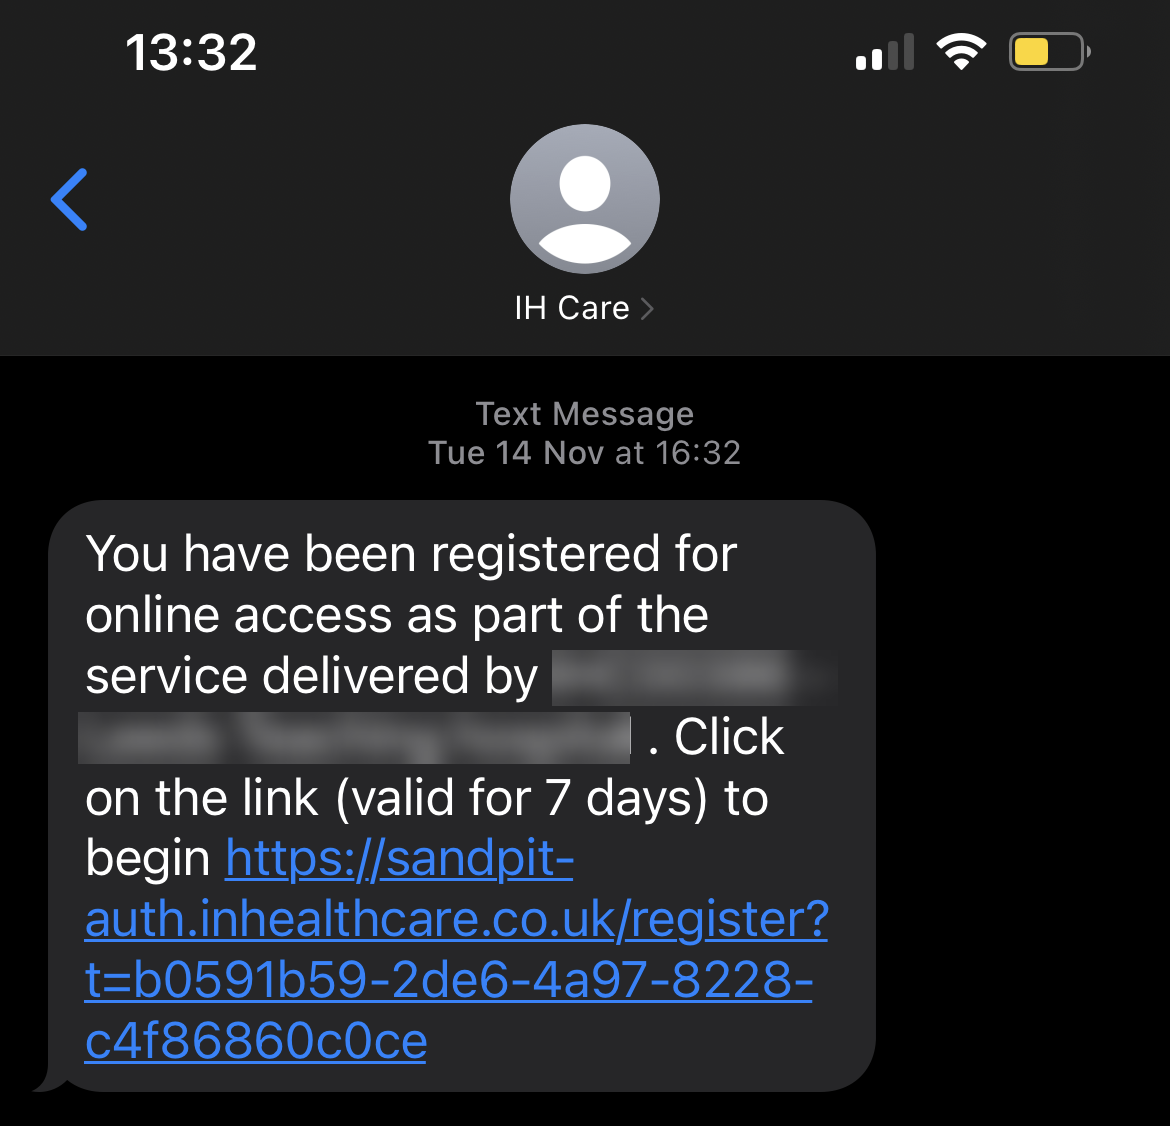
Registering patients for Online services
Upon starting a service/pathway for your patient, if they are not already registered for online services, depending on how the service has been built, an email (or SMS) including a registration link may be automatically sent.
This link can also be sent manually from the Patient information bar, by clicking Edit patient registration.
Further instructions for registering patients for online services (including to access the My Inhealthcare app) can be found in our separate guide.
Patient Enrolment
To enrol a patient onto a pathway/service:
Navigate to the applicable patient record.
Click the Services tab.
Find the relevant pathway.
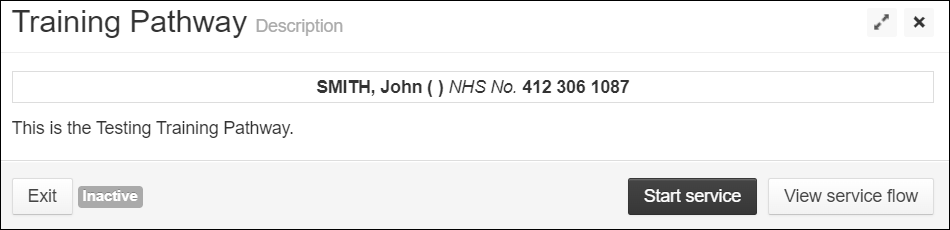
Click View service.
Click Start service.
Configuration of the pathway is likely required, please refer to your pathway's dedicated user guide.
Patient Record & Pathway Deactivation
Deactivating a Pathway
Navigate to the applicable patient record.
Select View service details on the running pathway.
If available, click the Deactivate service button.
TIP
If the Deactivate service button is not available, the user guide for your pathway will advise how to stop the patient's service.
The Deactivate patient service screen will show.
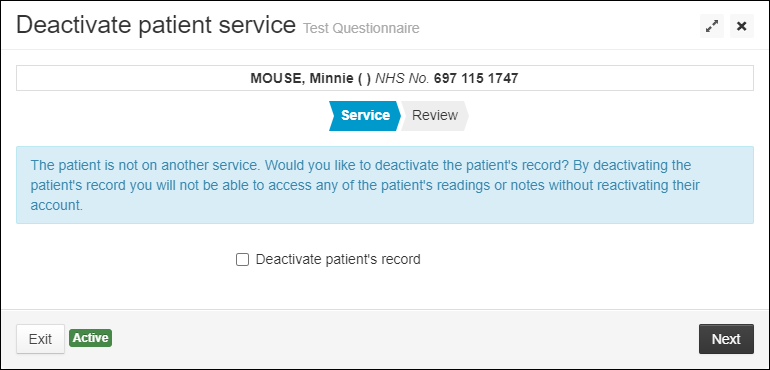
Click Next.
A review screen will show.Click Finish.
A confirmation will show.
Click View patient services to return to the Services section of the patient record, or click View Patient to return to the patient record.
TIP
If the pathway still displays under Running services after it has been deactivated, please refresh the page.
To deactivate the Patient Record:
Navigate to the applicable patient record
Click Deactivate.
If the patient is active on any pathways, or has outstanding alerts, these will display.
Click Exit and deactivate any active pathways (following the steps above), or actioning any alerts/tasks, before continuing.
If there are no pathways running for this patient, click the Finish button.
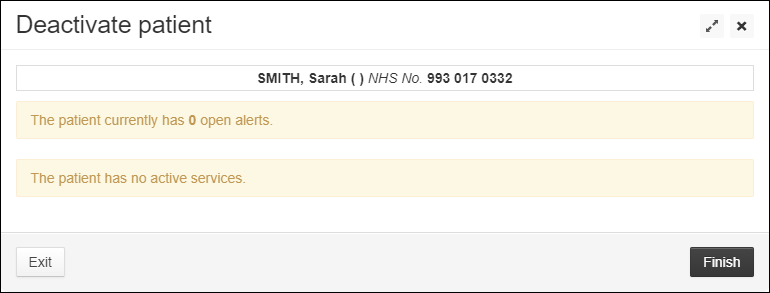
This will deactivate the patient's record.
Patient & Clinician App
Patient App
The My Inhealthcare App is a user-friendly application that allows patients to track and submit multiple types of readings, such as Blood Pressure and Body Temperature, for monitoring.
It offers the option to send reminders for medication and test dates, shows previous and historic submitted readings, and, if configured for the service, has a My Calendar feature which can show the next scheduled times for test dates and reading submissions.
WARNING
Not all pathway services will allow access to the app. Please ensure your service has been built with app access before advising patients to download it.
If unsure please check with your account manager if your service is set up for patients and clinicians to use the app.
To get them started on the app:
Follow the steps to register patients for online services.
The patient will then need to install the My Inhealthcare App.
Upon first login, it will prompt the patient to create a 6-digit pin which will be used to log into the app in future.
There is further information available in our Patient App - User Guide.
Clinician App
The Inhealthcare Professional App is a user-friendly application, which allows clinical professionals to provide remote monitoring care for their patients.
WARNING
Not all pathway services will allow access to the app. Please ensure your service has been built with app access before downloading it.
If unsure please check with your account manager if your service is set up for patients and clinicians to use the app.
Install the Inhealthcare Professional App onto a work device.
Log into the app, with the same username and password you would use for the Portal.
It will prompt you to create a 6-digit pin code which will be used to log into the app in future.
There is further information available in our Clinician App - User Guide.
Communication Types
The below options are dependent on how the pathway has been built. Specific ways patients will be contacted will be outlined within your pathway's dedicated user guide.
TIP
All communications sent to and from the patient can be viewed in the Communications section of the patient record.
Dependant on the configuration of the pathway, the patient will receive email reminders to submit their readings via the My Inhealthcare app, or by logging into the patient portal on a browser.
SMS
Dependant on the configuration of the pathway, the patient will be sent regular messages to input their readings. This can be done by replying to the text message, or by completing online questionnaires via a browser or the My Inhealthcare app.
Automated Phone Call
The patient will receive calls at scheduled monitoring times. The calls will use AVR technology to prompt the patient to input their readings via their telephone keypad.
Support
For support details, click here.