A Tour of the Inhealthcare Platform
In this guide the term 'NHS Number' is used predominantly. Any areas outside of England and Wales that use a different number such as 'HSCN Number' should be confident that when 'NHS Number' is referenced or shown in screenshots that the same information applies to both an NHS and HSCN number.
The Inhealthcare ("IHC") Platform is broken up into five major areas:
Area 1 - The User Navigation Bar
The User Navigation Bar is the first major area. It allows you to navigate within the Platform:
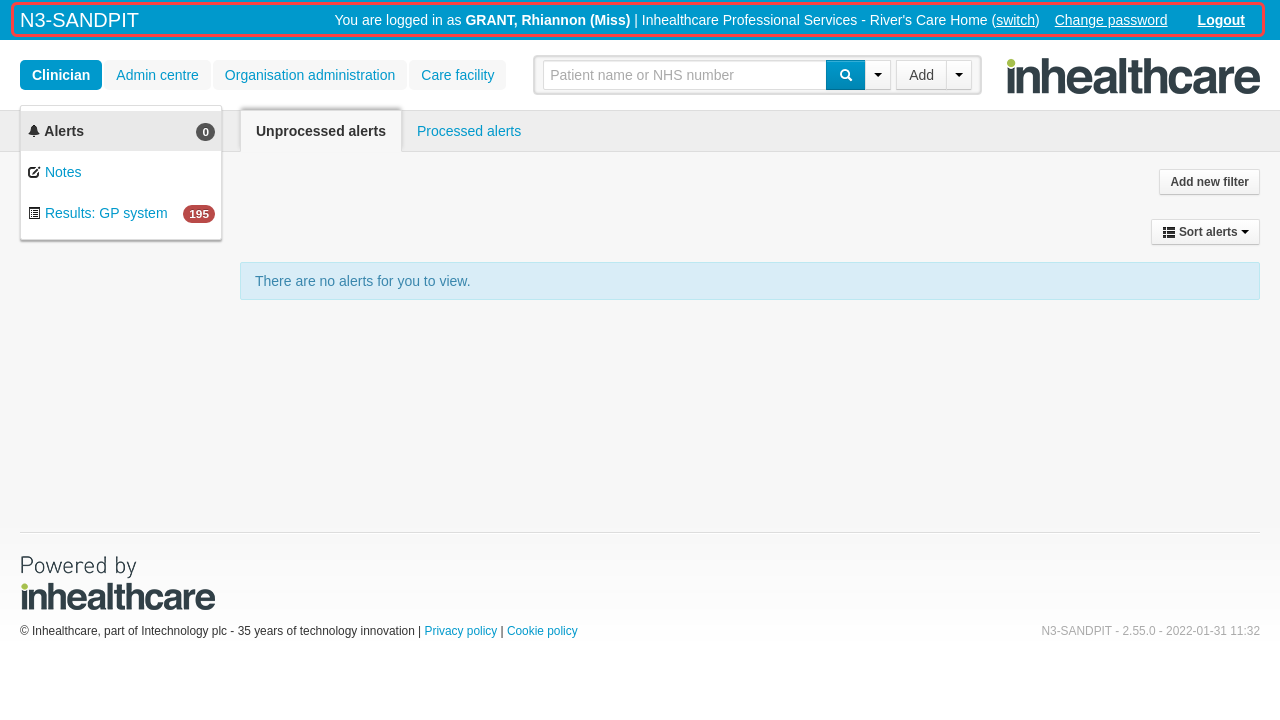
If you are in the Sandpit Training environment then the N3-SANDPIT environment logo shows here. If you are in the Live Environment then this logo will not show;

On the right hand side of the Navigation Bar you will see your current login information:
Who is logged in:

Which organisation you are logged into:

Which care facility you are logged into:

If you have access to more than one organisation, or care facility, and need to switch organisations or care facility then select the switch button:

This will open the Organisation Membership screen. Find the correct organisation tile and select the Select button:

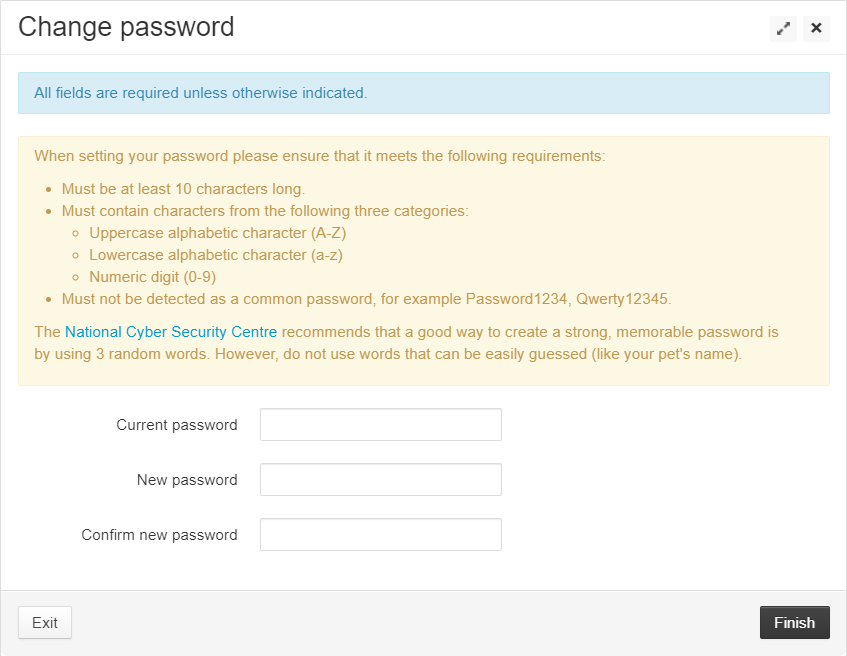
When you need to change your password then you can select the Change password button:

This will then allow you to enter your new password:
To log out of the platform then select the Logout button:

Area 2 - The Dashboard Buttons
The second major area allows you to switch between the various dashboards within the platform. These buttons will change depending on your permission level. There may be up to four switches visible:

- Clinician Dashboard – Select this to access the Alerts, Notes and Result Upload screens;
- Admin Centre Dashboard - If you use an Admin Centre, at your organisation, then this will allow you to access specific tasks for the Admin Centre;
- Organisation Administration Dashboard – Select this to access Super-User functions such as adding/removing users and creating care facilities; and
- Care facility Dashboard – Select this to access the Care Facility screen.
Area 3 - The Search Bar
There are two different versions of the Search Bar, which you see will depend on how your service is configured.
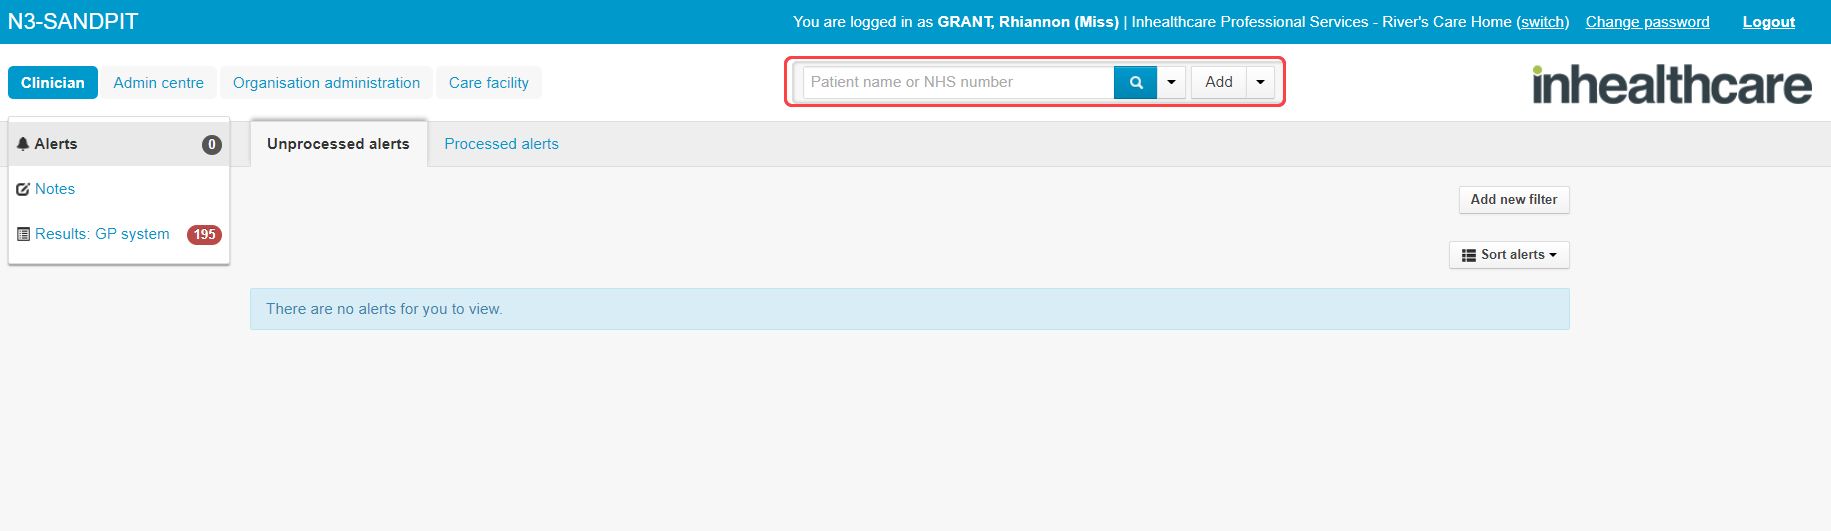
Non-PDS Search
If your service does not use a PDS Lookup Tool, to connect to the NHS Spine, then your search bar will include an Add button like this:

Non-PDS Search - Searching for existing patients
To search for an existing patient you can use the Search bar. You can type a patient’s name or NHS number into the search bar and press enter or you can click the blue search button for more advanced options:
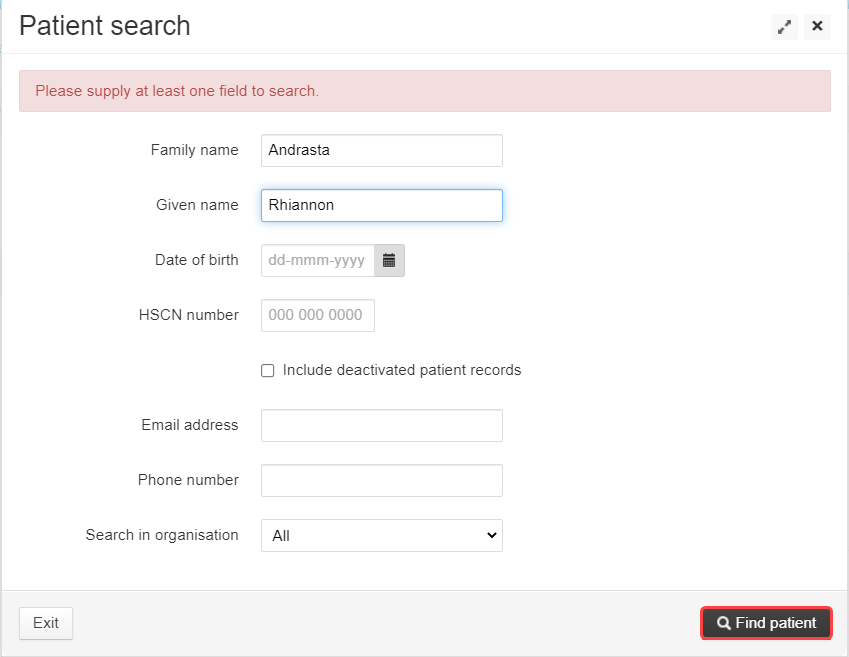
If the patient has been previously deactivated then make sure to click the "Include deactivated patient records" option
If you have recently viewed the patient record then they may be in your Recently viewed list. To access this select the down arrow icon next to the search button and select Recently viewed:

This will show you the last 5 patient records that you have accessed.
Non-PDS Search - Adding a New Patient
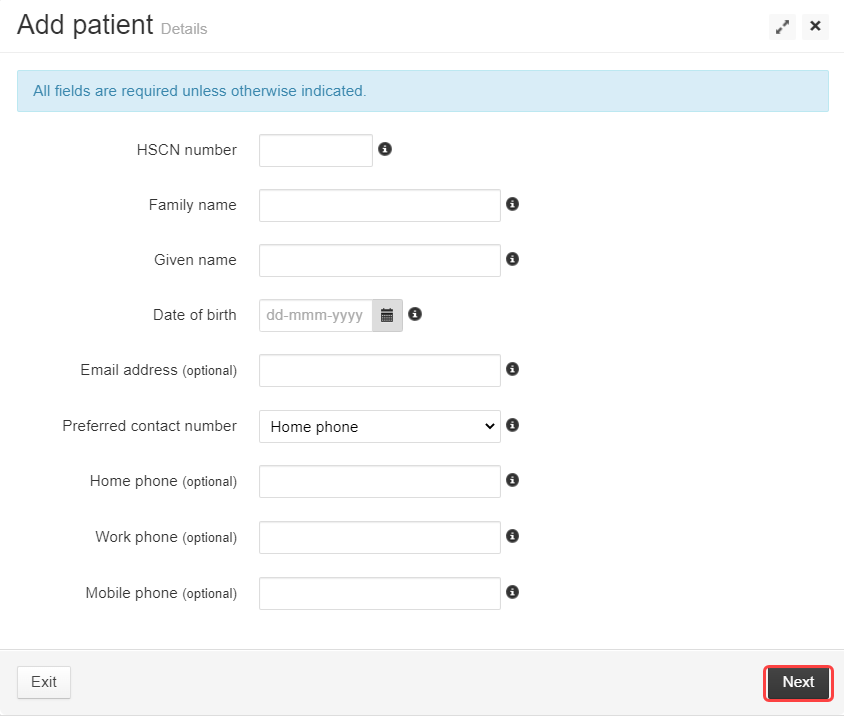
You can also add a new patient via the search bar. Select the Add button:
Complete the new patient information, then select Next and Finish:
PDS Search
If your service uses the PDS Lookup Tool to connect to the NHS Spine then your search bar will not have an additional Add button and will look like this:

PDS Search - Searching for existing patients and Adding New Patients
The PDS Lookup tool makes searching for an existing patient, and adding a new patient, very easy as they are combined into one screen. You can type a patient’s name or NHS number into the search bar and press enter or you can click the blue search button for more advanced options:
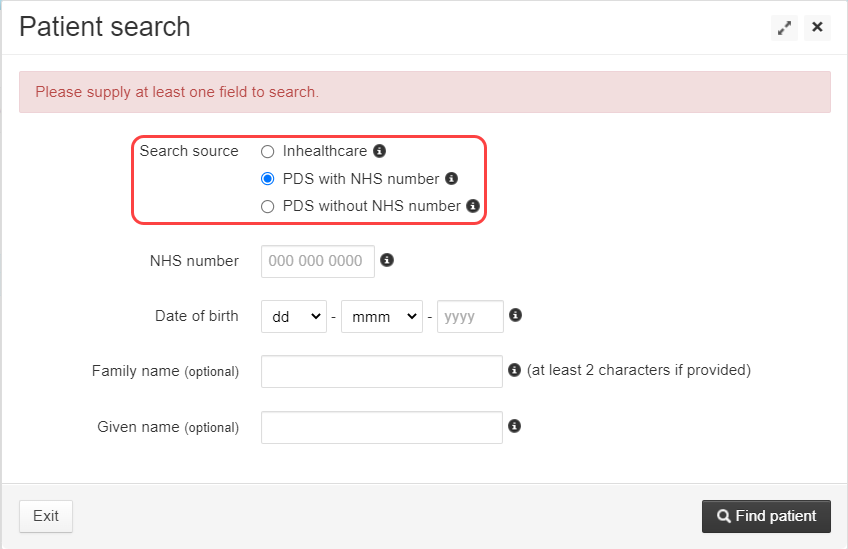
You have three search criteria options
- Inhealthcare - Use this to search for records within the IHC Platform only;
- PDS with NHS number - Use this to search on the NHS Spine when you have an NHS number; or
- PDS without NHS number - Use this to search on the NHS Spine when you do not have an NHS number;
Choose your criteria, enter the patient information and then select the Find patient button.
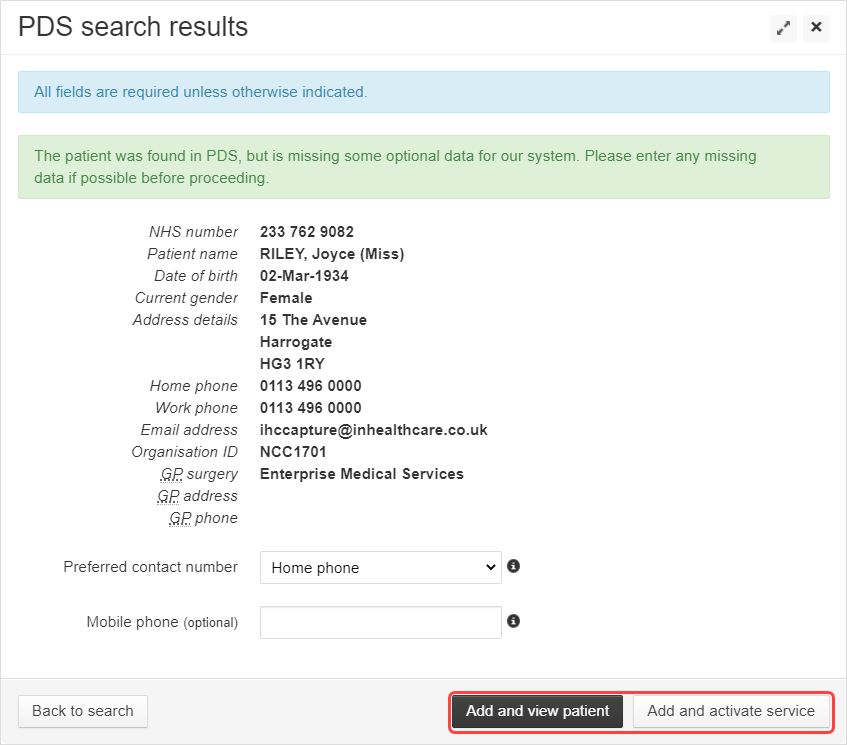
You will now be on the PDS search results screen and the patient information will have been pulled down from the NHS Spine. You can add any information that was missing from the spine and then select either:
- Add and view patient - This option will add the new patient and take you to the patient record without activating a service;
- Add and activate service - This option will add the new patient and allow you to choose a service to activate on the patient before viewing the patient record.
If the patient is already in the IHC Platform then the buttons will change from "Add and..." to "Update and..."
Area 4 - The Primary Navigation Menu
The Primary Navigation Menu, on the left side of the screen, will change depending on what dashboard you are currently viewing.
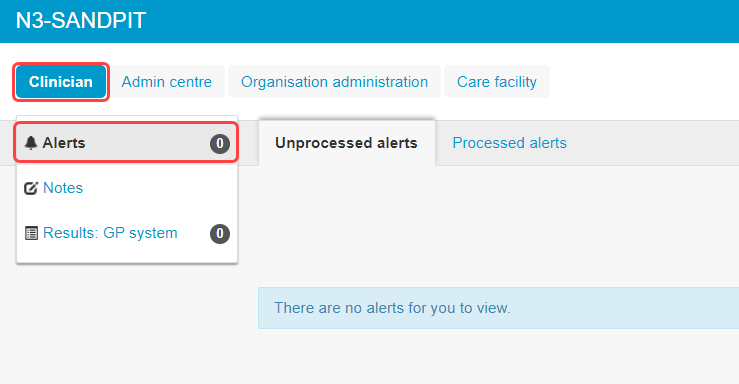
The Clinician Dashboard
Your service may not use the Clinician Dashboard, check with your account manager to verify.
- Alerts - If there are any clinician alerts for your care facility then they can be viewed and processed here:
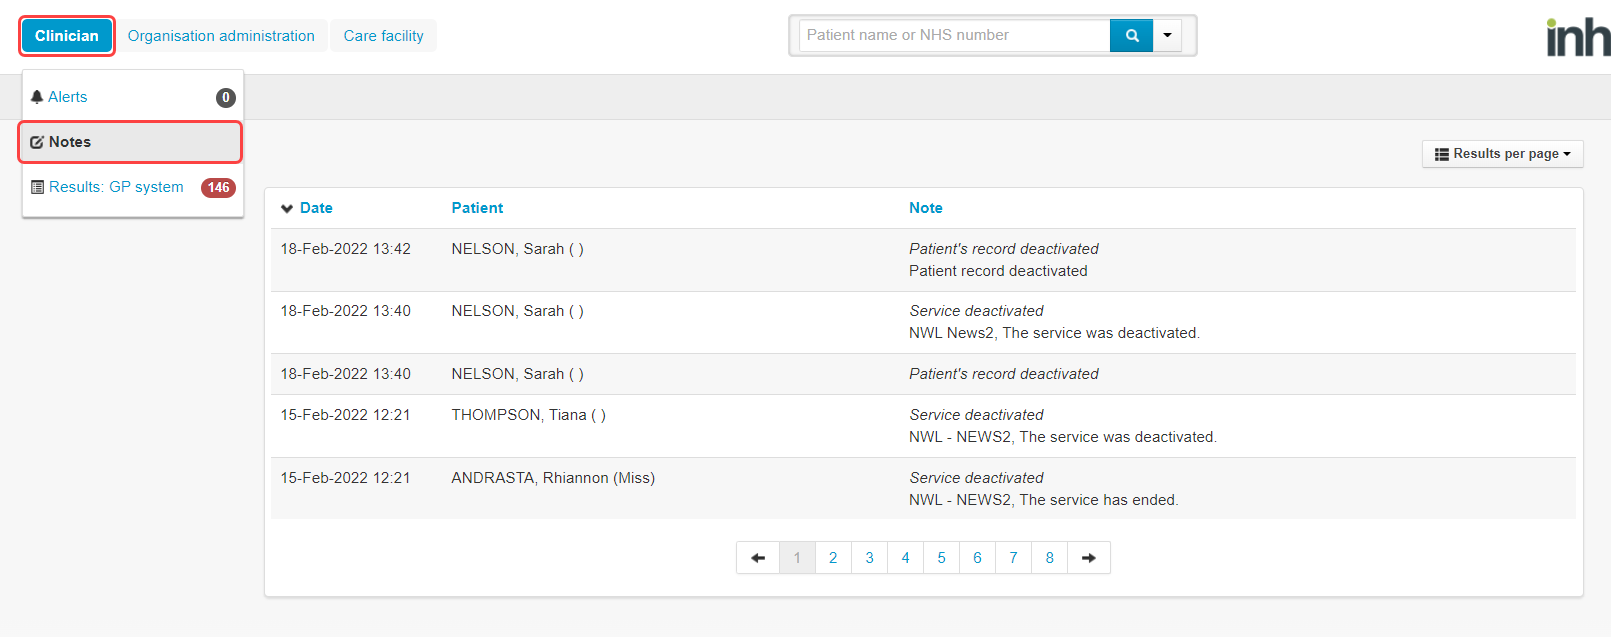
- Notes - You can view care-facility notes here:
This is a care-facility-wide screen and will display all notes saved by the system, or users in the system, for all patients in the care facility.
- Results: GP system - Any patient results waiting to be uploaded to a patient record system, such as EMIS or SystemOne can be uploaded through this screen:
You can only upload patient results through the Inhealthcare Desktop Application, patient results cannot be uploaded through the web portal.

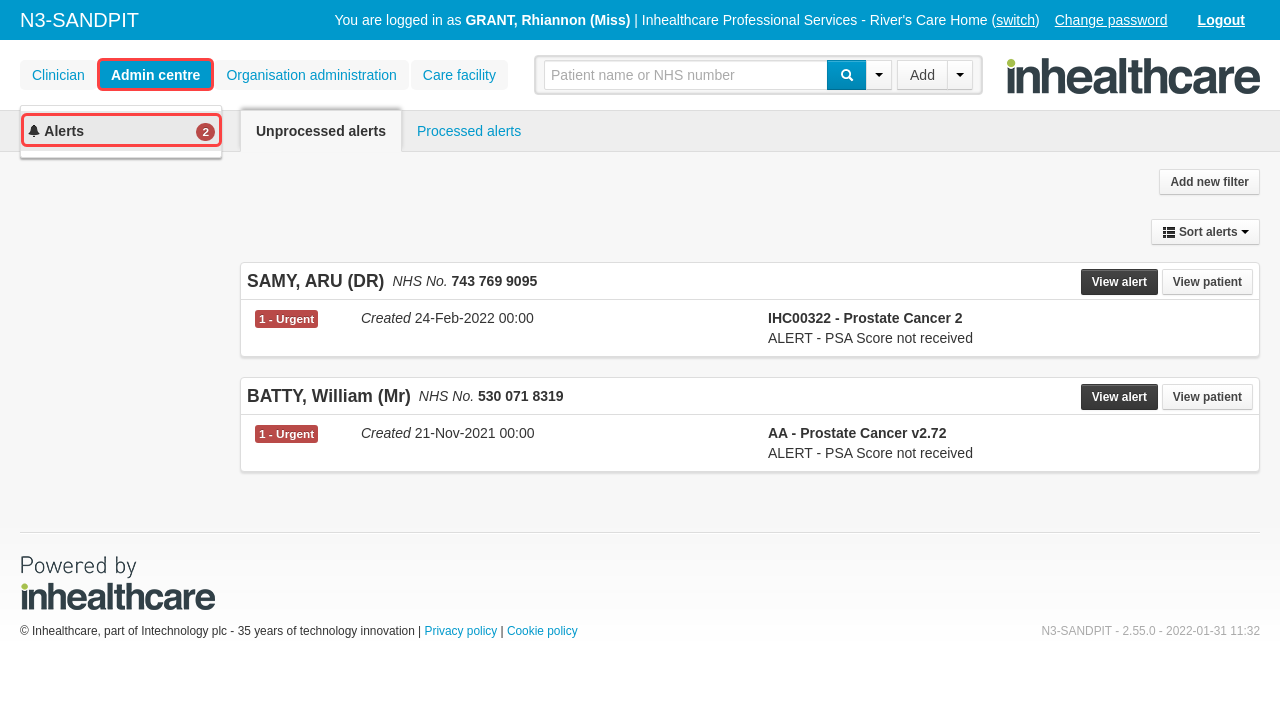
Admin Centre Dashboard
If you have used the admin centre functionality to setup wards, or groups of workers, then the alerts for that admin centre will show up here:
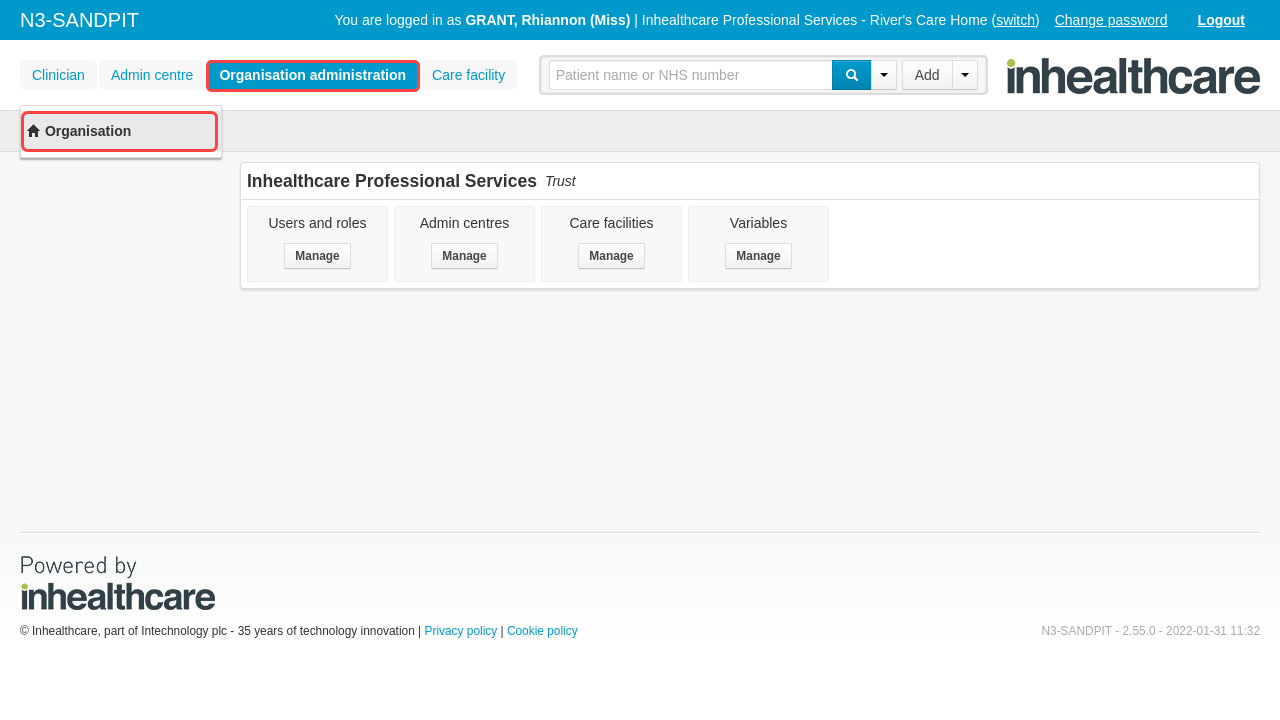
Organisation Administration Dashboard
If you do not have organisation administrative access rights then you will not see this screen
The Organisation Administration dashboard is the third major area. The Organisation Administration Dashboard is used by Super Users to perform administrative functions in the system such as adding new users and configuring admin centres:
Care Facility Dashboard
The Care Facility dashboard allows you to access care-facility-wide information and tasks:
Tasks
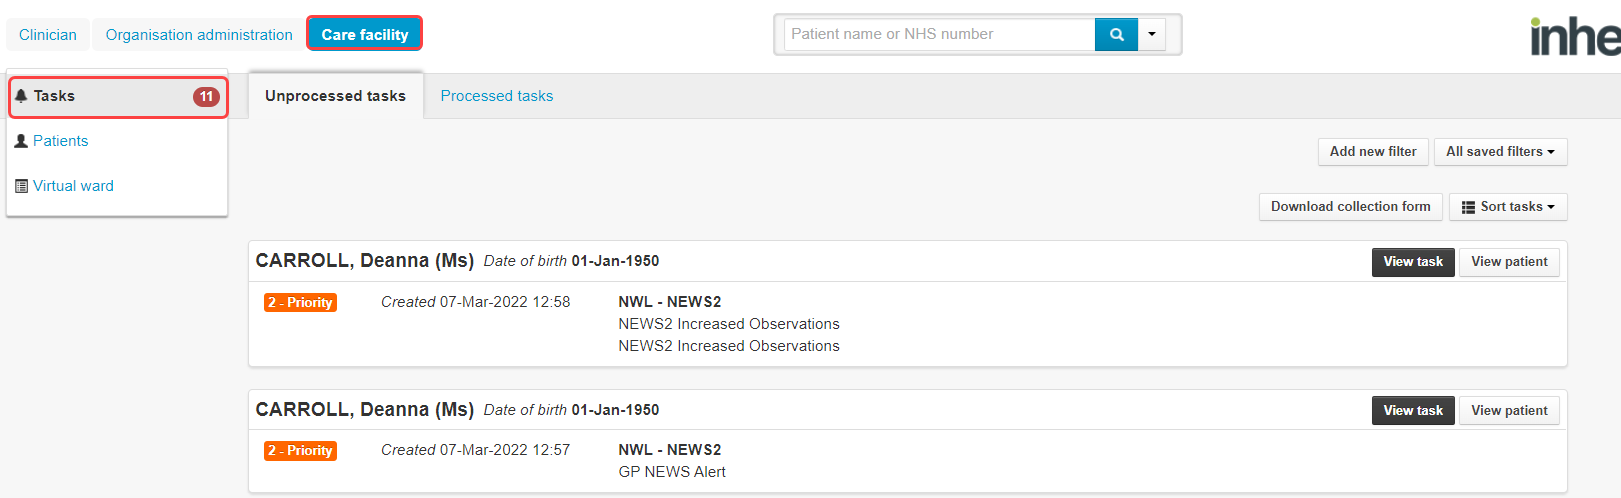
The Care Facility Task page allows you to see all of the tasks currently waiting to be processed within the care facility as a whole. You can then select View task on the next due task to process the task, or you can select View patient to view the patient record
You can use the Add new filter button in the top right of the screen to add a filter to the task list screen, for example, to see only tasks assigned to you and you can use the sort tasks button to sort the tasks into a specific order
Patients
The Patients page will show you a list of all patients that are currently active, in the platform, for your care facility.
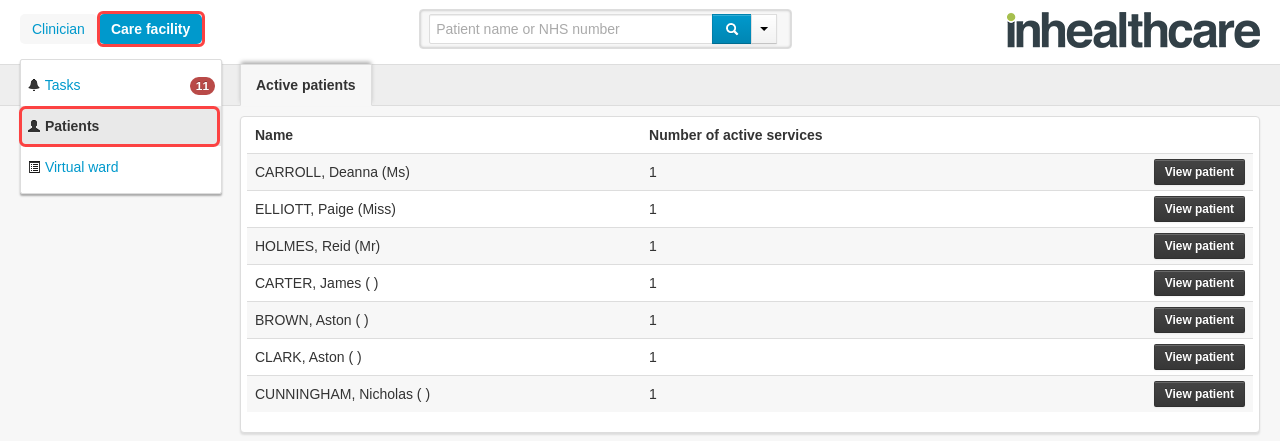
The patients list can be turned on or off by an organisation administrator
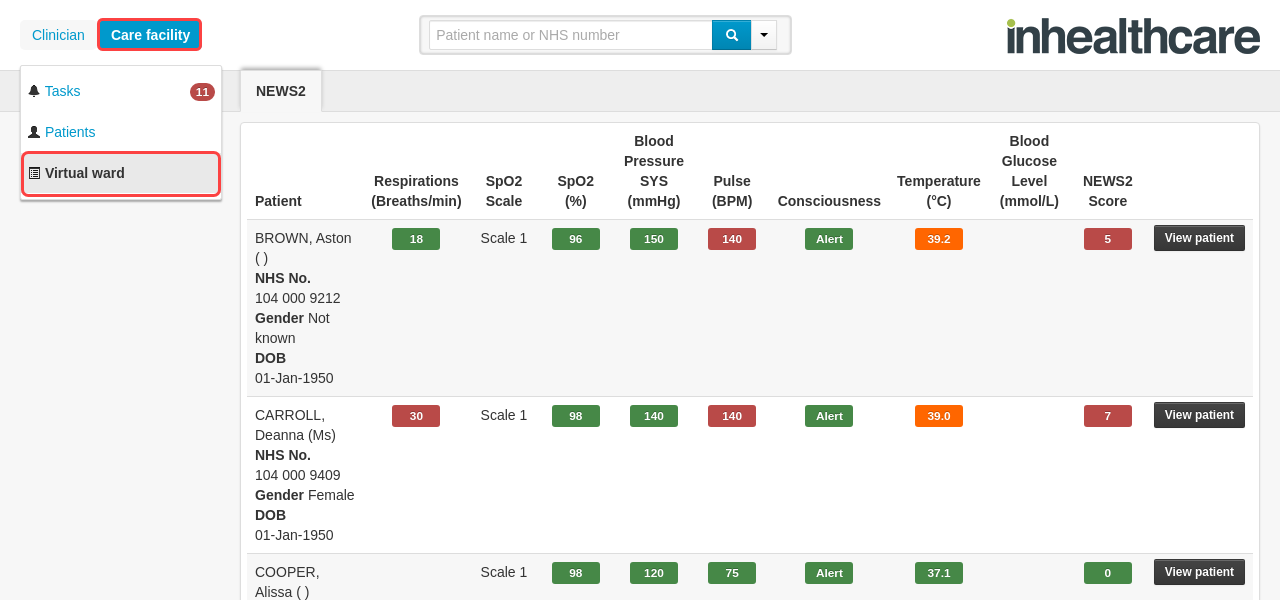
Virtual Ward
Your service may not use a Virtual Ward, check with your account manager to verify.
The Virtual Ward allows you to see at-a-glance information for all of your patients, using RAG-rated colour coding to monitor their most recent set of observations and to action a task directly through the Virtual Ward if your service permits.
Area 5 - The Patient Record
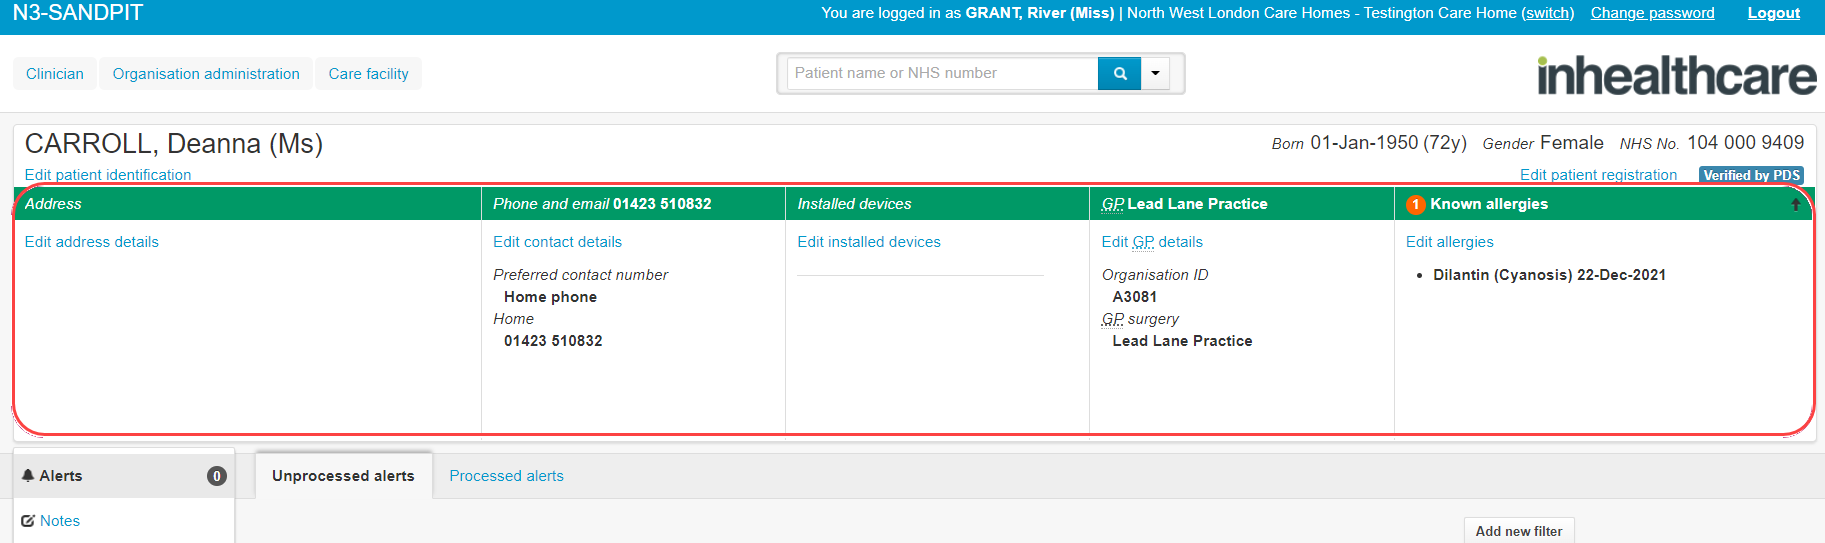
Whenever you select View patient on a screen, within the platform, you will be taken to the patient record. At the top of the Patient Record you can see the patient identifying, and demographic, information:
The Patient Registration link, on the right hand side, allows you to register the patient for mobile app access and the patient portal. The 'Verified by PDS' badge shows if the patient information was verified by PDS.
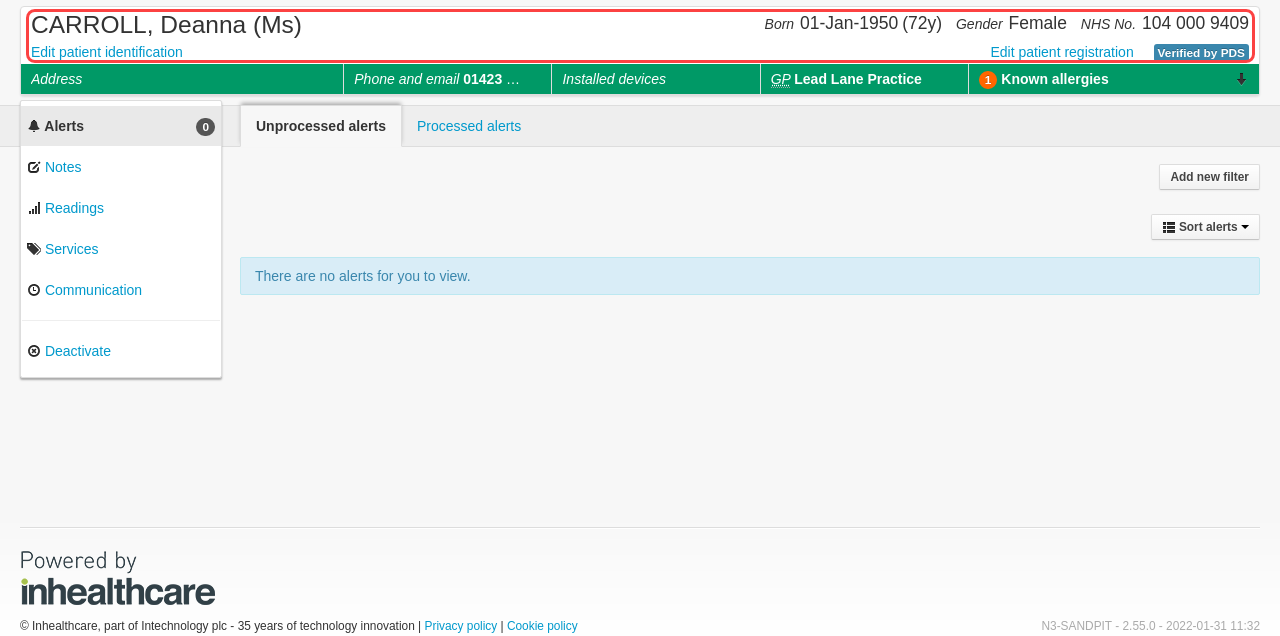
If you click on the green information banner, it will expand the patient's detailed information screens which contains such information as address, contact details and allergies. You can change any information here by clicking the Edit link within that area.
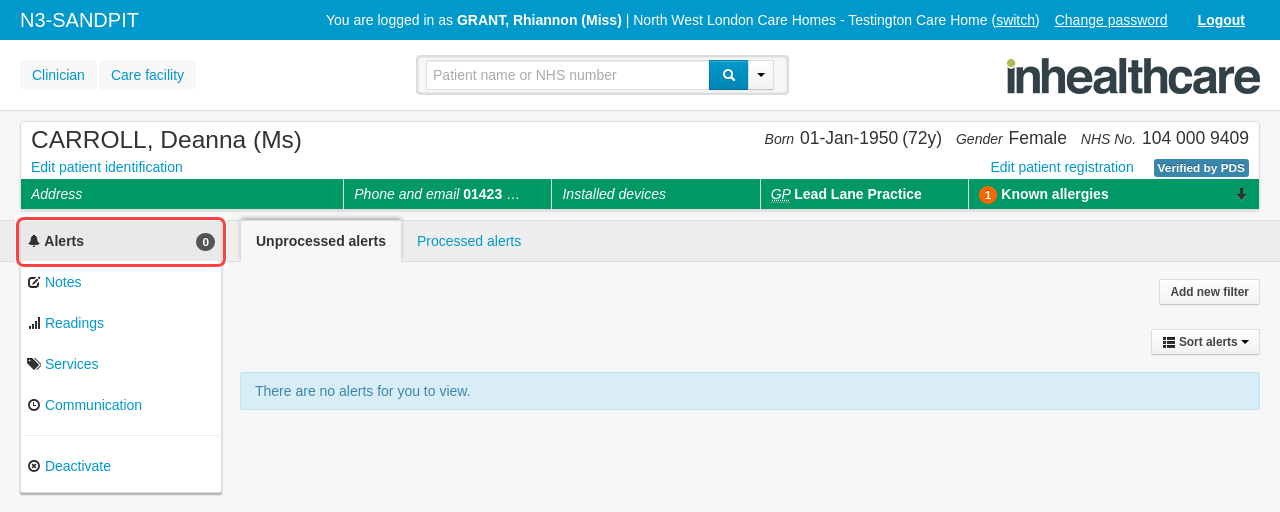
On the left hand side you will find the main navigation menu, as usual. The first item is the Alerts tab which will show you any alerts that have been triggered for this patient:
Next we have the IHC Internal Notes tab, you can see here that this screen also notes when a service has been deactivated and by whom:

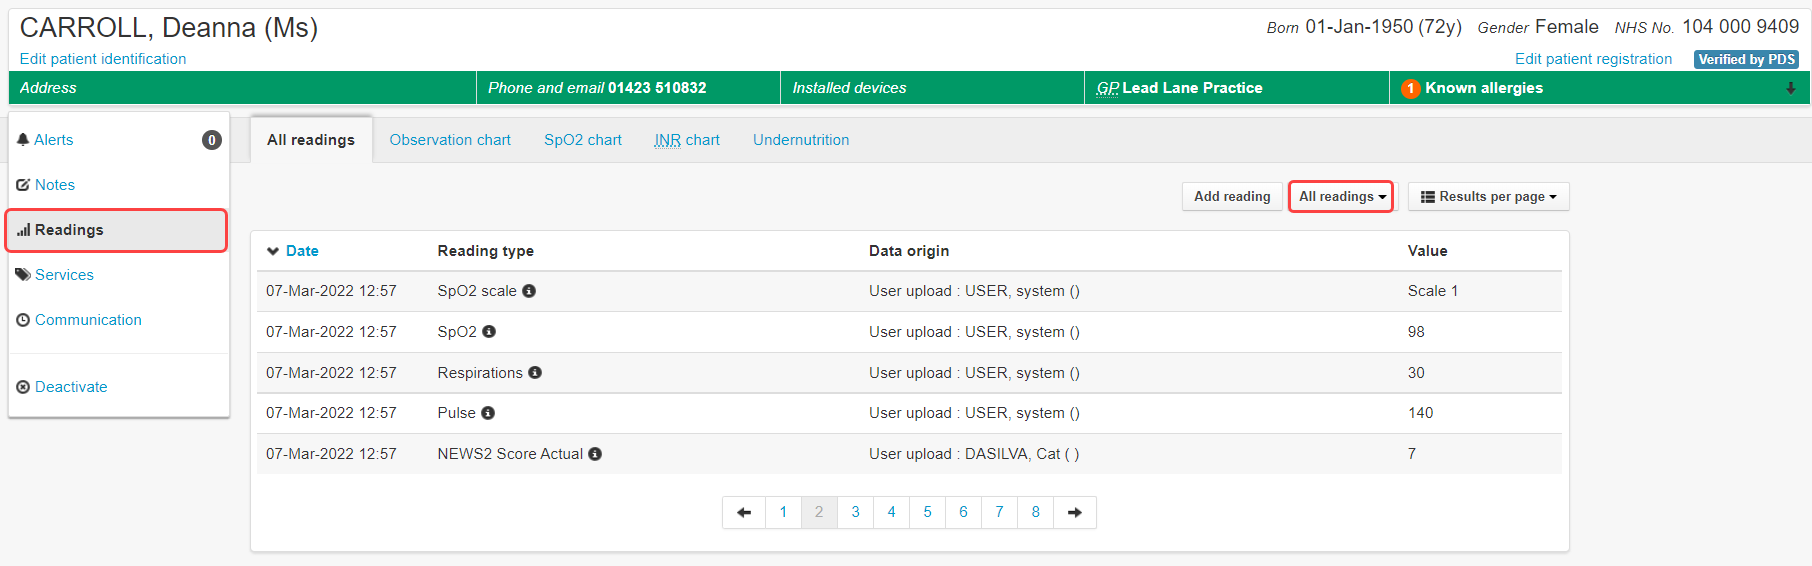
The Readings tab allows you to have a closer look at the patient's readings. It will initially open up in a table view showing all of the submitted readings. To drill-down to a specific reading-type click the All Readings button on the right hand side:
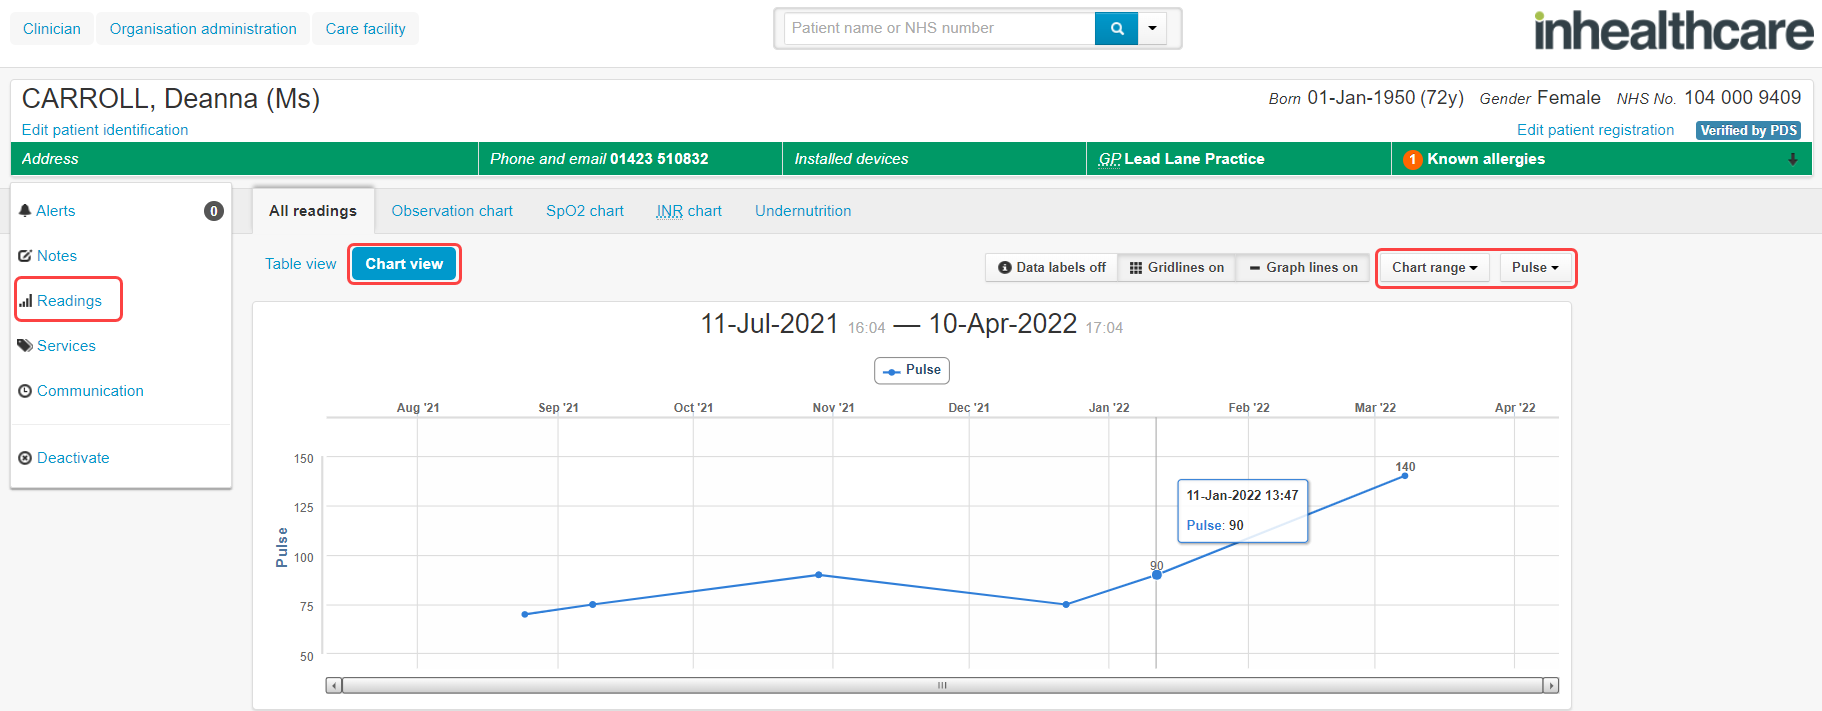
After selecting a specific reading type we can click the Chart view button to see a line chart of the patient readings. We can use the the Chart range button to change the range of time that the chart covers and we can use the Readings button to change which reading we are looking at:
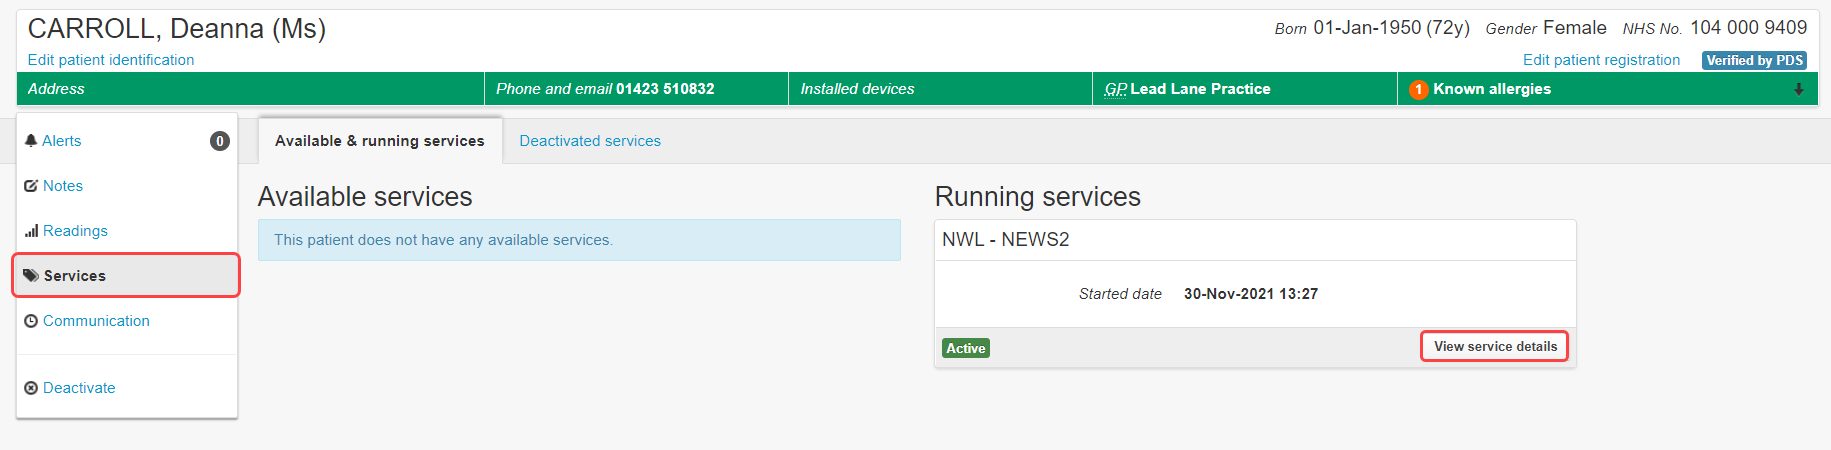
Next we can find the Services tab which will show you any Available or Running Services for the patient. Note the View service details button on the currently running service. You can click that to view any service options or waiting tasks for this patient on that specific service, or to deactivate the service:
The Communication tab keeps a record of any communications sent out by the service, any communication received by the service from the patient and a summary of any task completed by the patient:
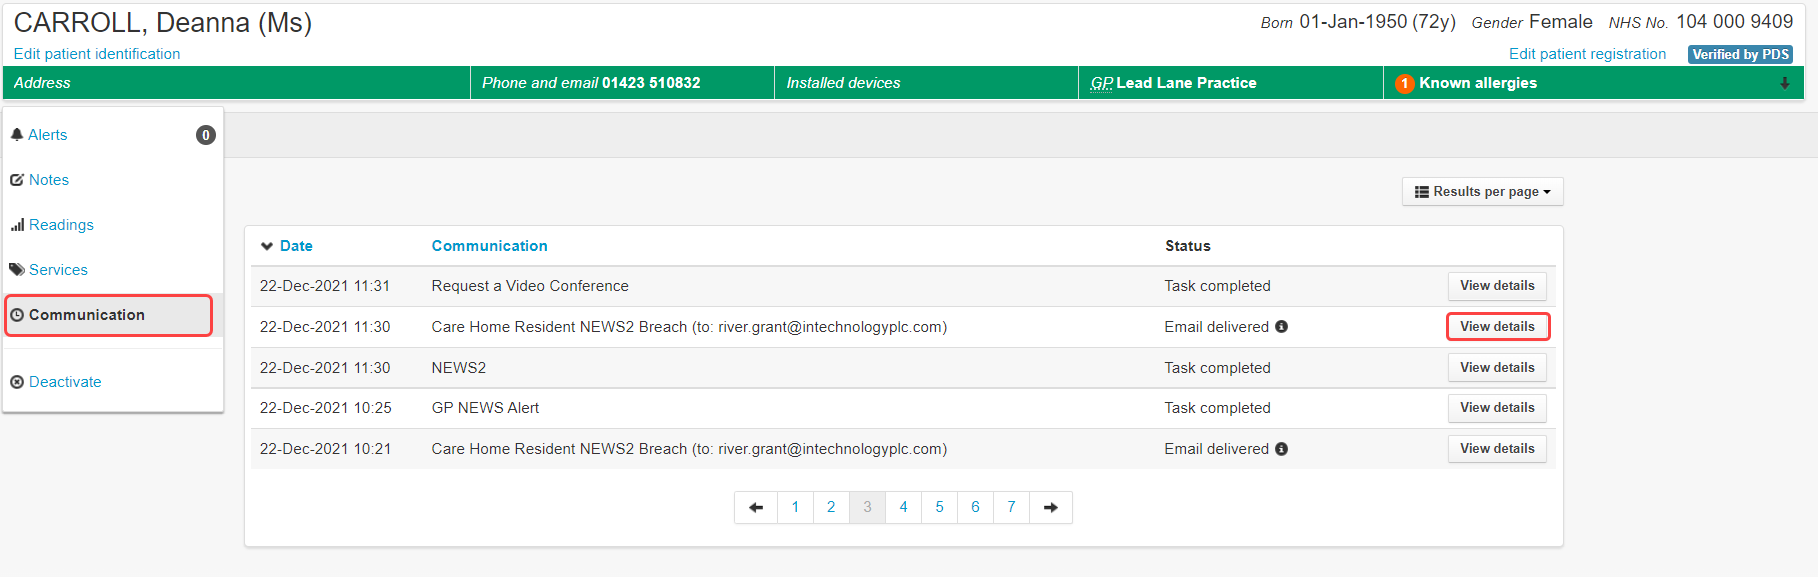
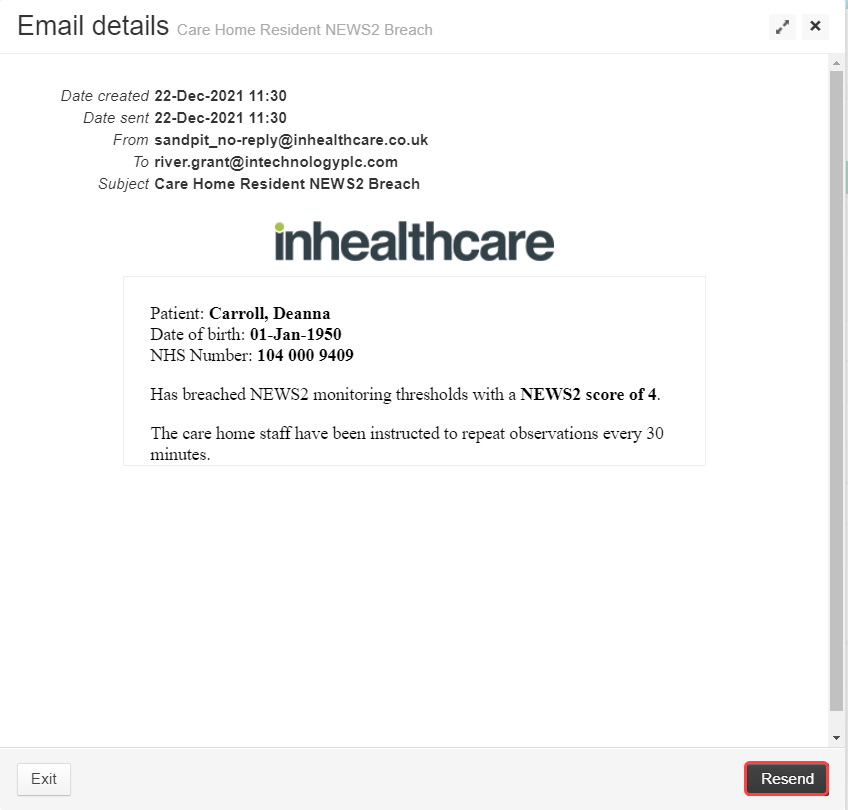
If you wish to look at an item in more detail then click the View details button to read the communication and resend it if necessary:
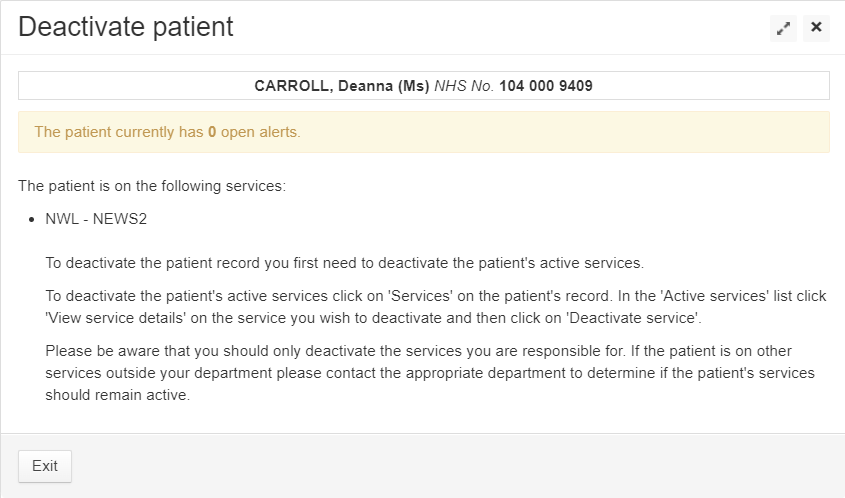
Lastly we have the Deactivate tab. This tab will allow you to deactivate the patient record and prevent it from showing up in a standard patient search:
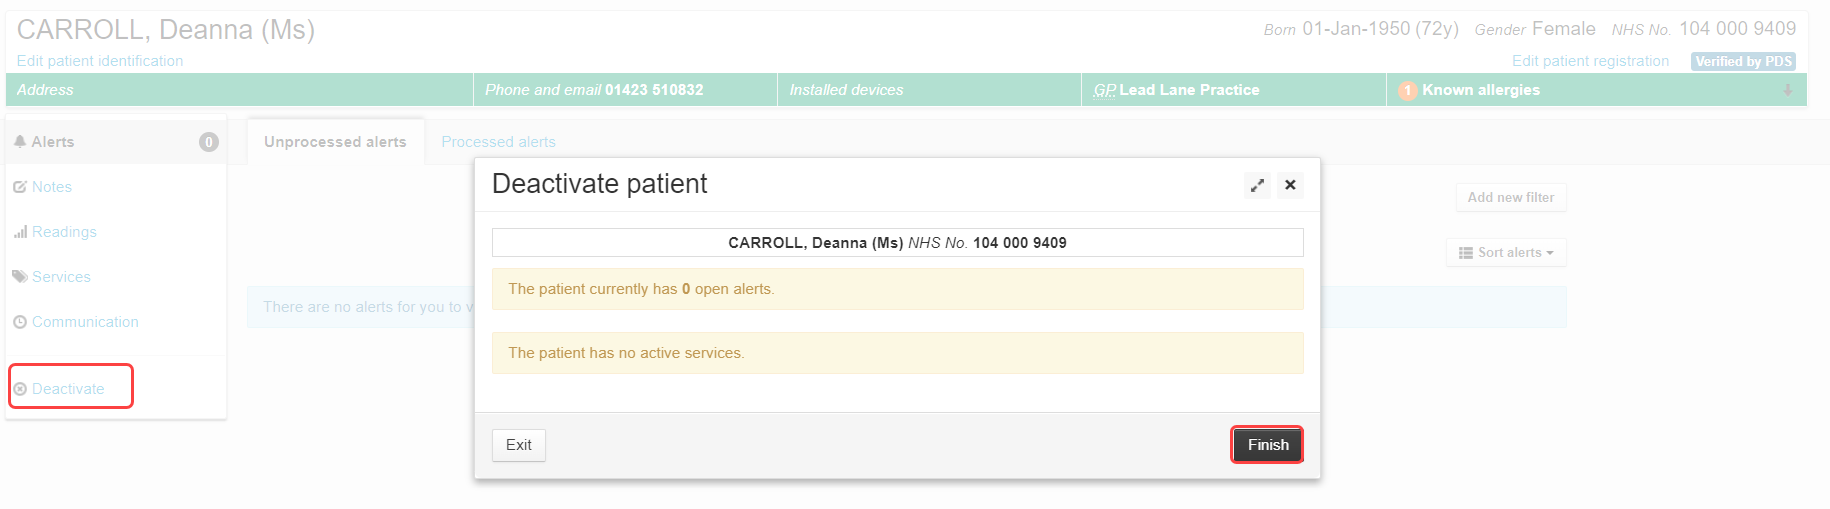
This option will only work if there are no active services running for the patient. If there are running services then deactivate them before deactivating the patient.